Printing Photo Books with Microsoft PowerPoint
Tips and Tricks for designing Photo Book PDF's with Microsoft PowerPoint
Designing Photo Books with Microsoft PowerPoint
Setting Up Your Project in Microsoft PowerPoint
The instructions on this page are intended for users who are creating their project using the most recent PowerPoint release (16.14.1).
Certain versions of PowerPoint are not suitable for book creation, as the Exported file is not saved at a high enough resolution for a quality print product. If you have specific questions about the version of PowerPoint you are using, feel free to Email Us with your current version and what questions you may have.
Using PowerPoint 2011 or Older?
Please refer to our FAQ's section for information on how to save your file out with sufficient resolution for print.
Setting Up Your Project on a Microsoft Desktop
To get started:
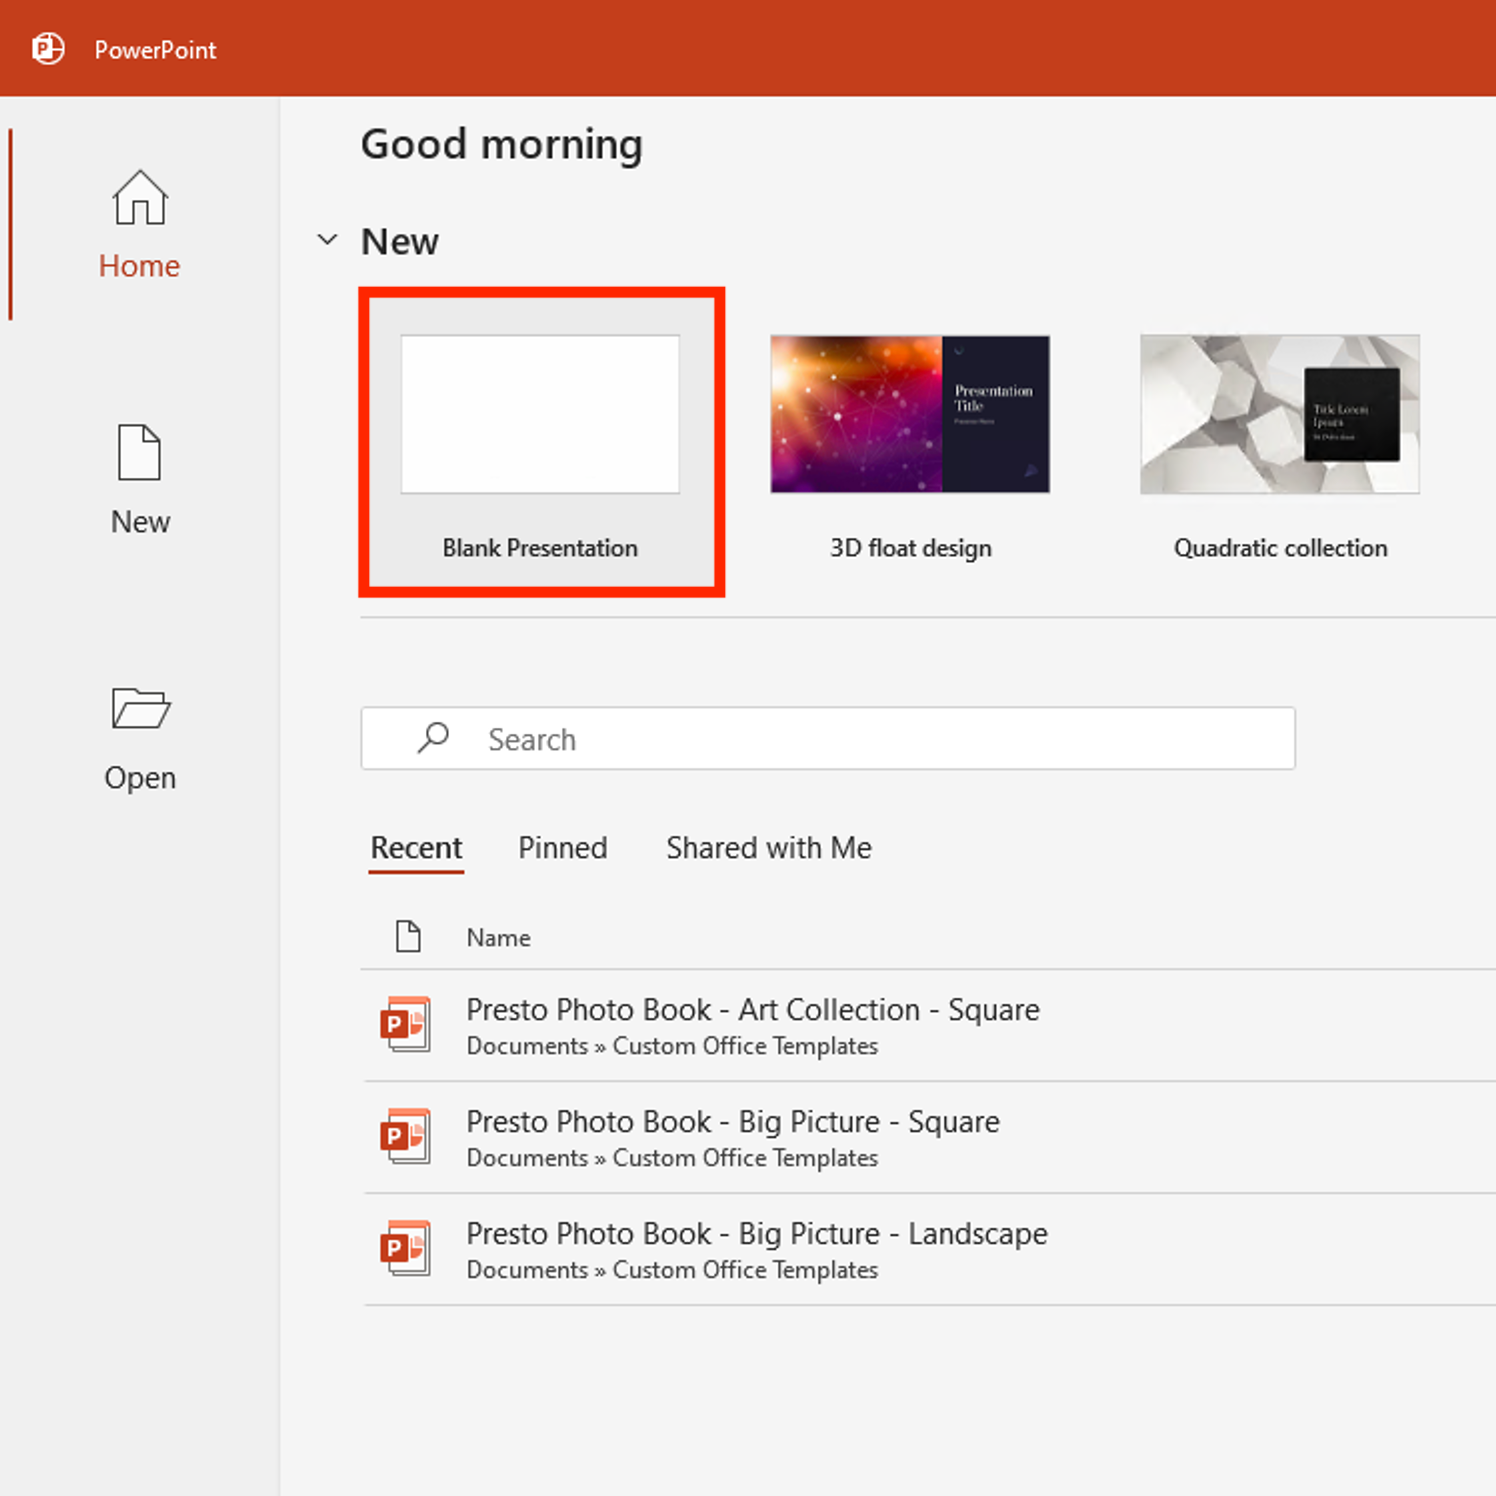
- Open PowerPoint
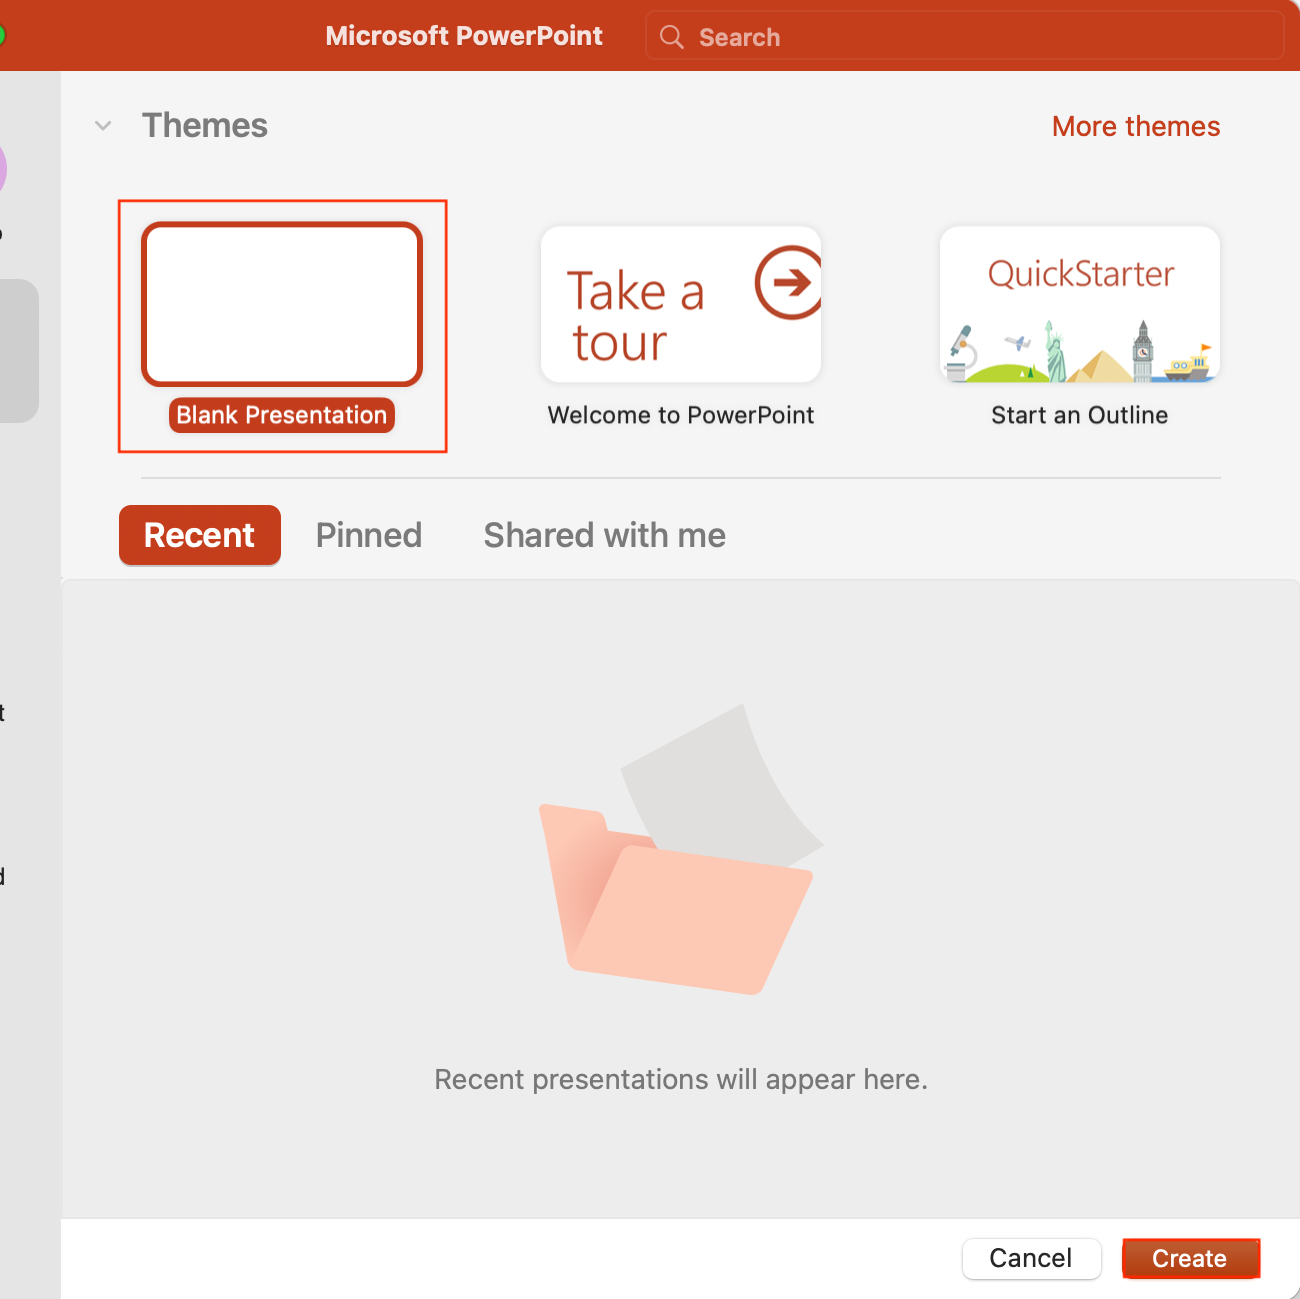
- Select a Template (I used “Blank Presentation”) and then click “Create”
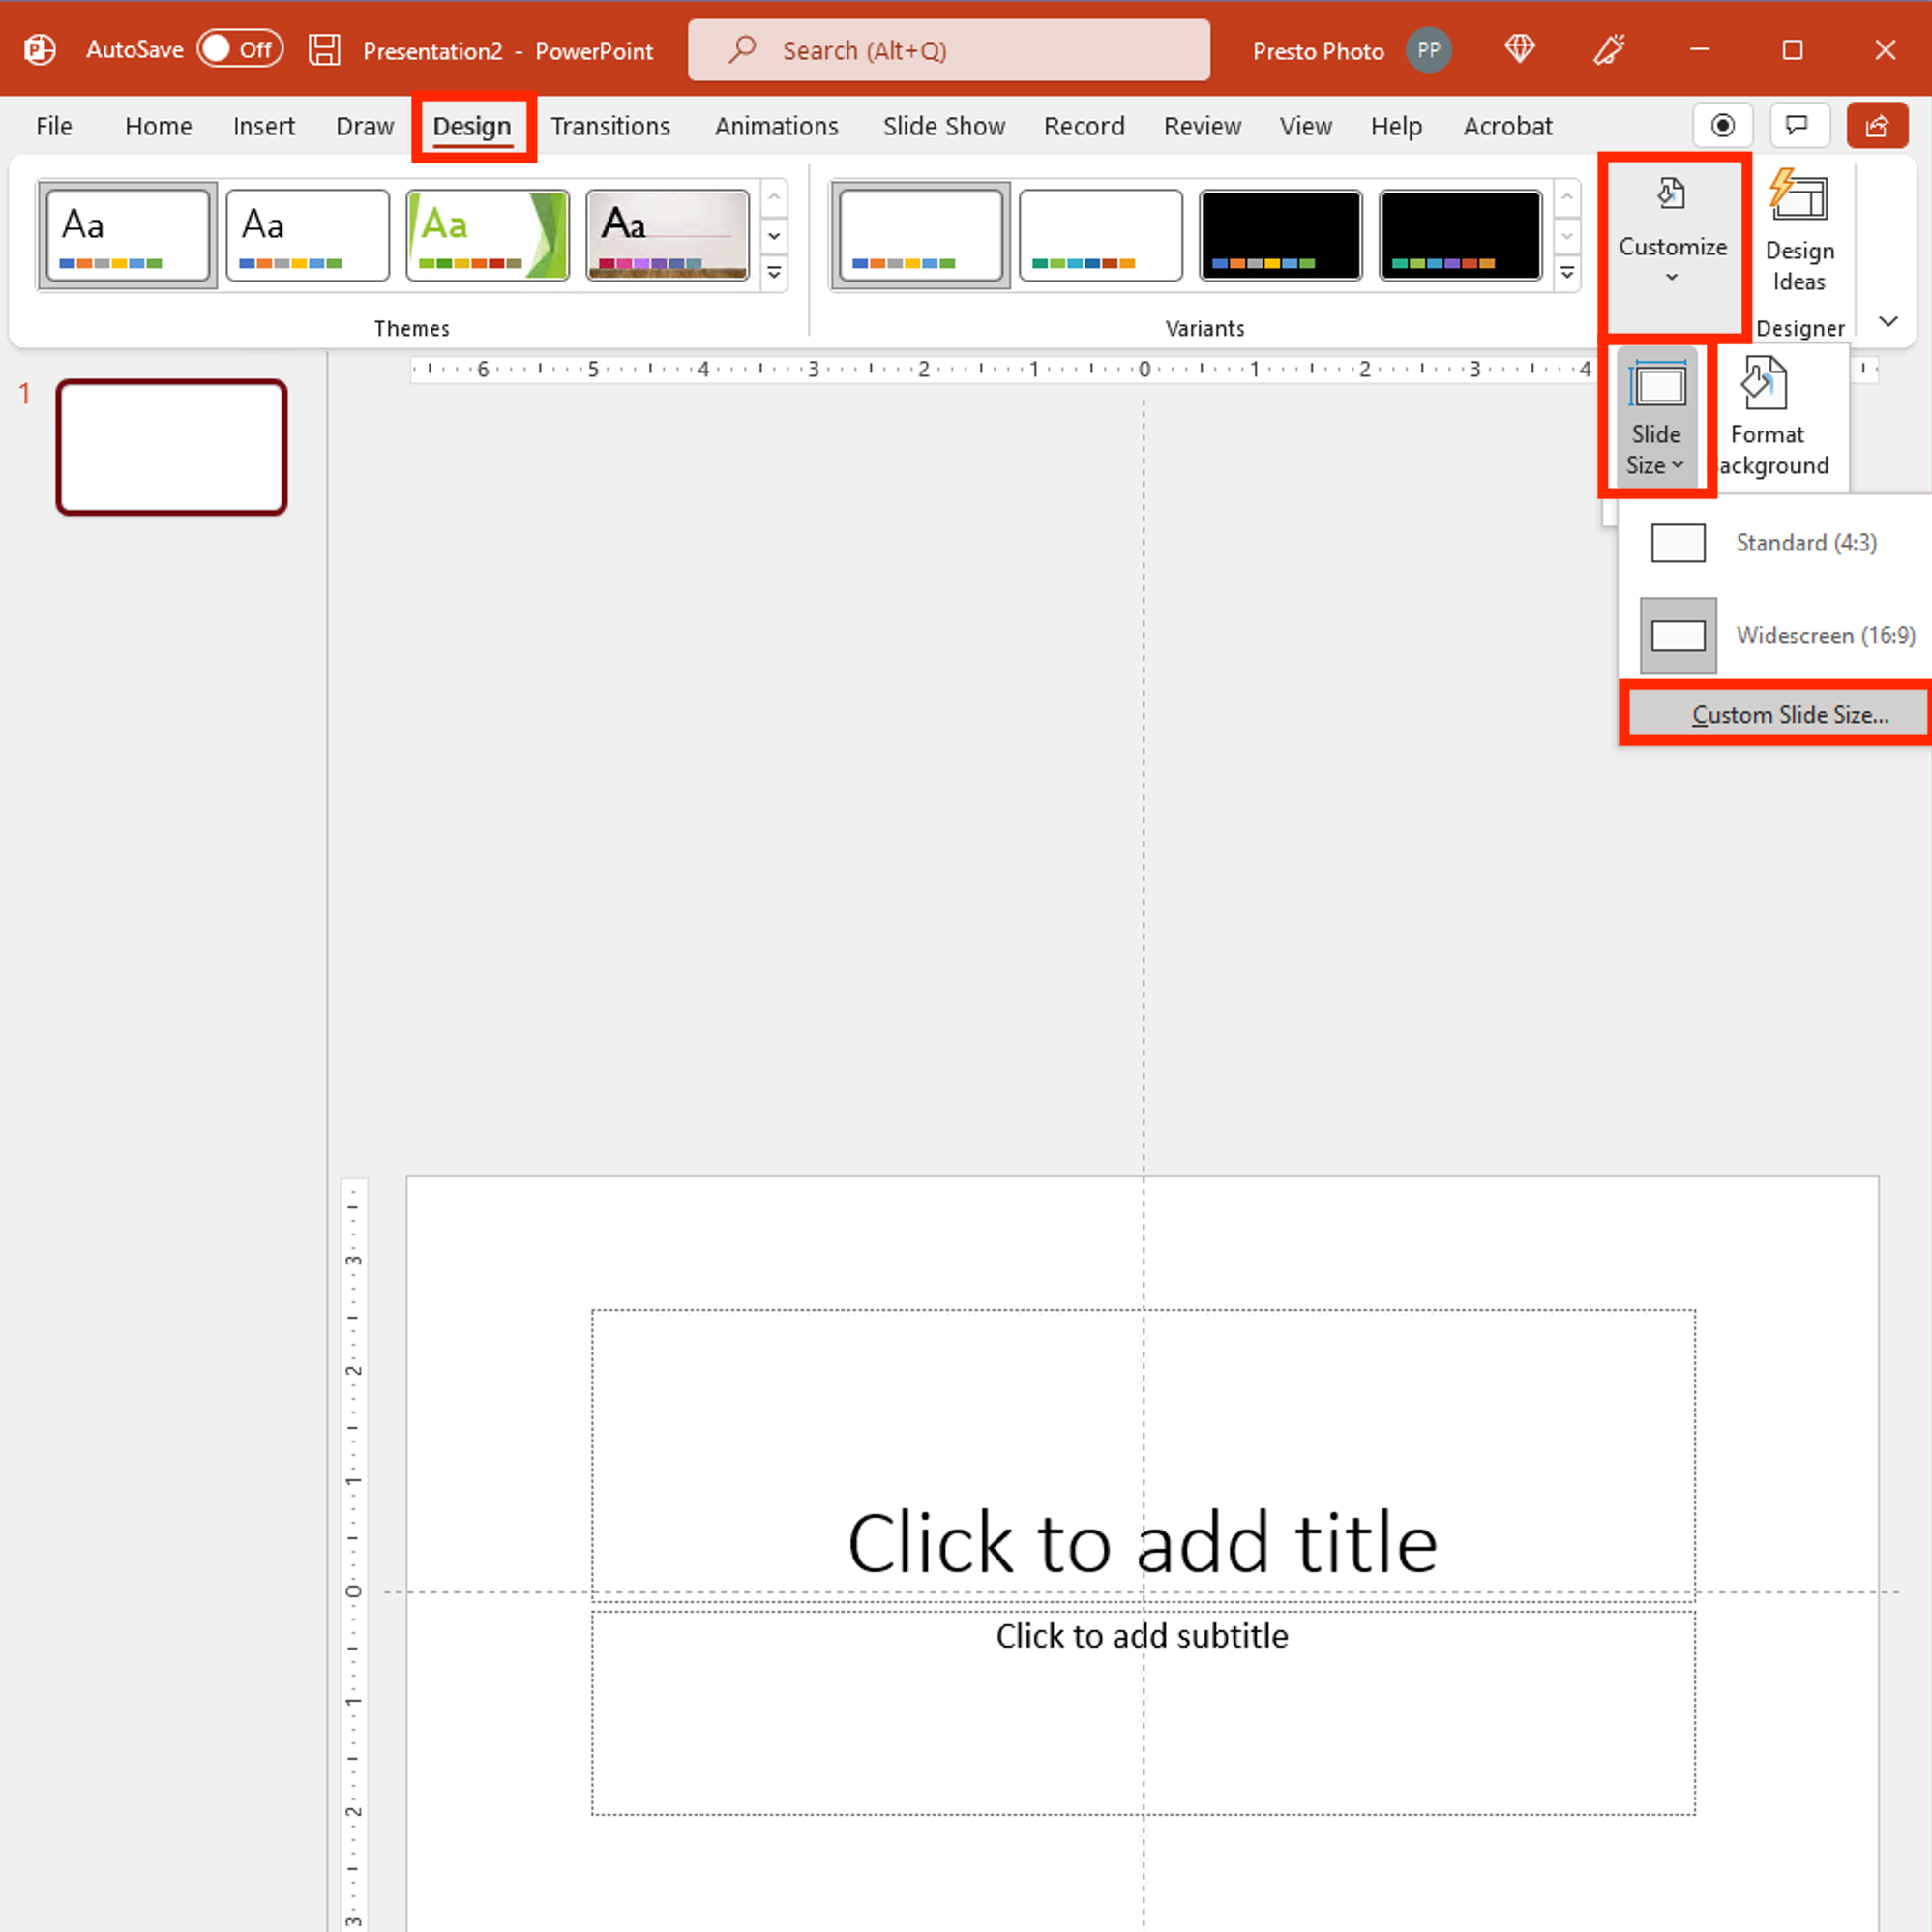
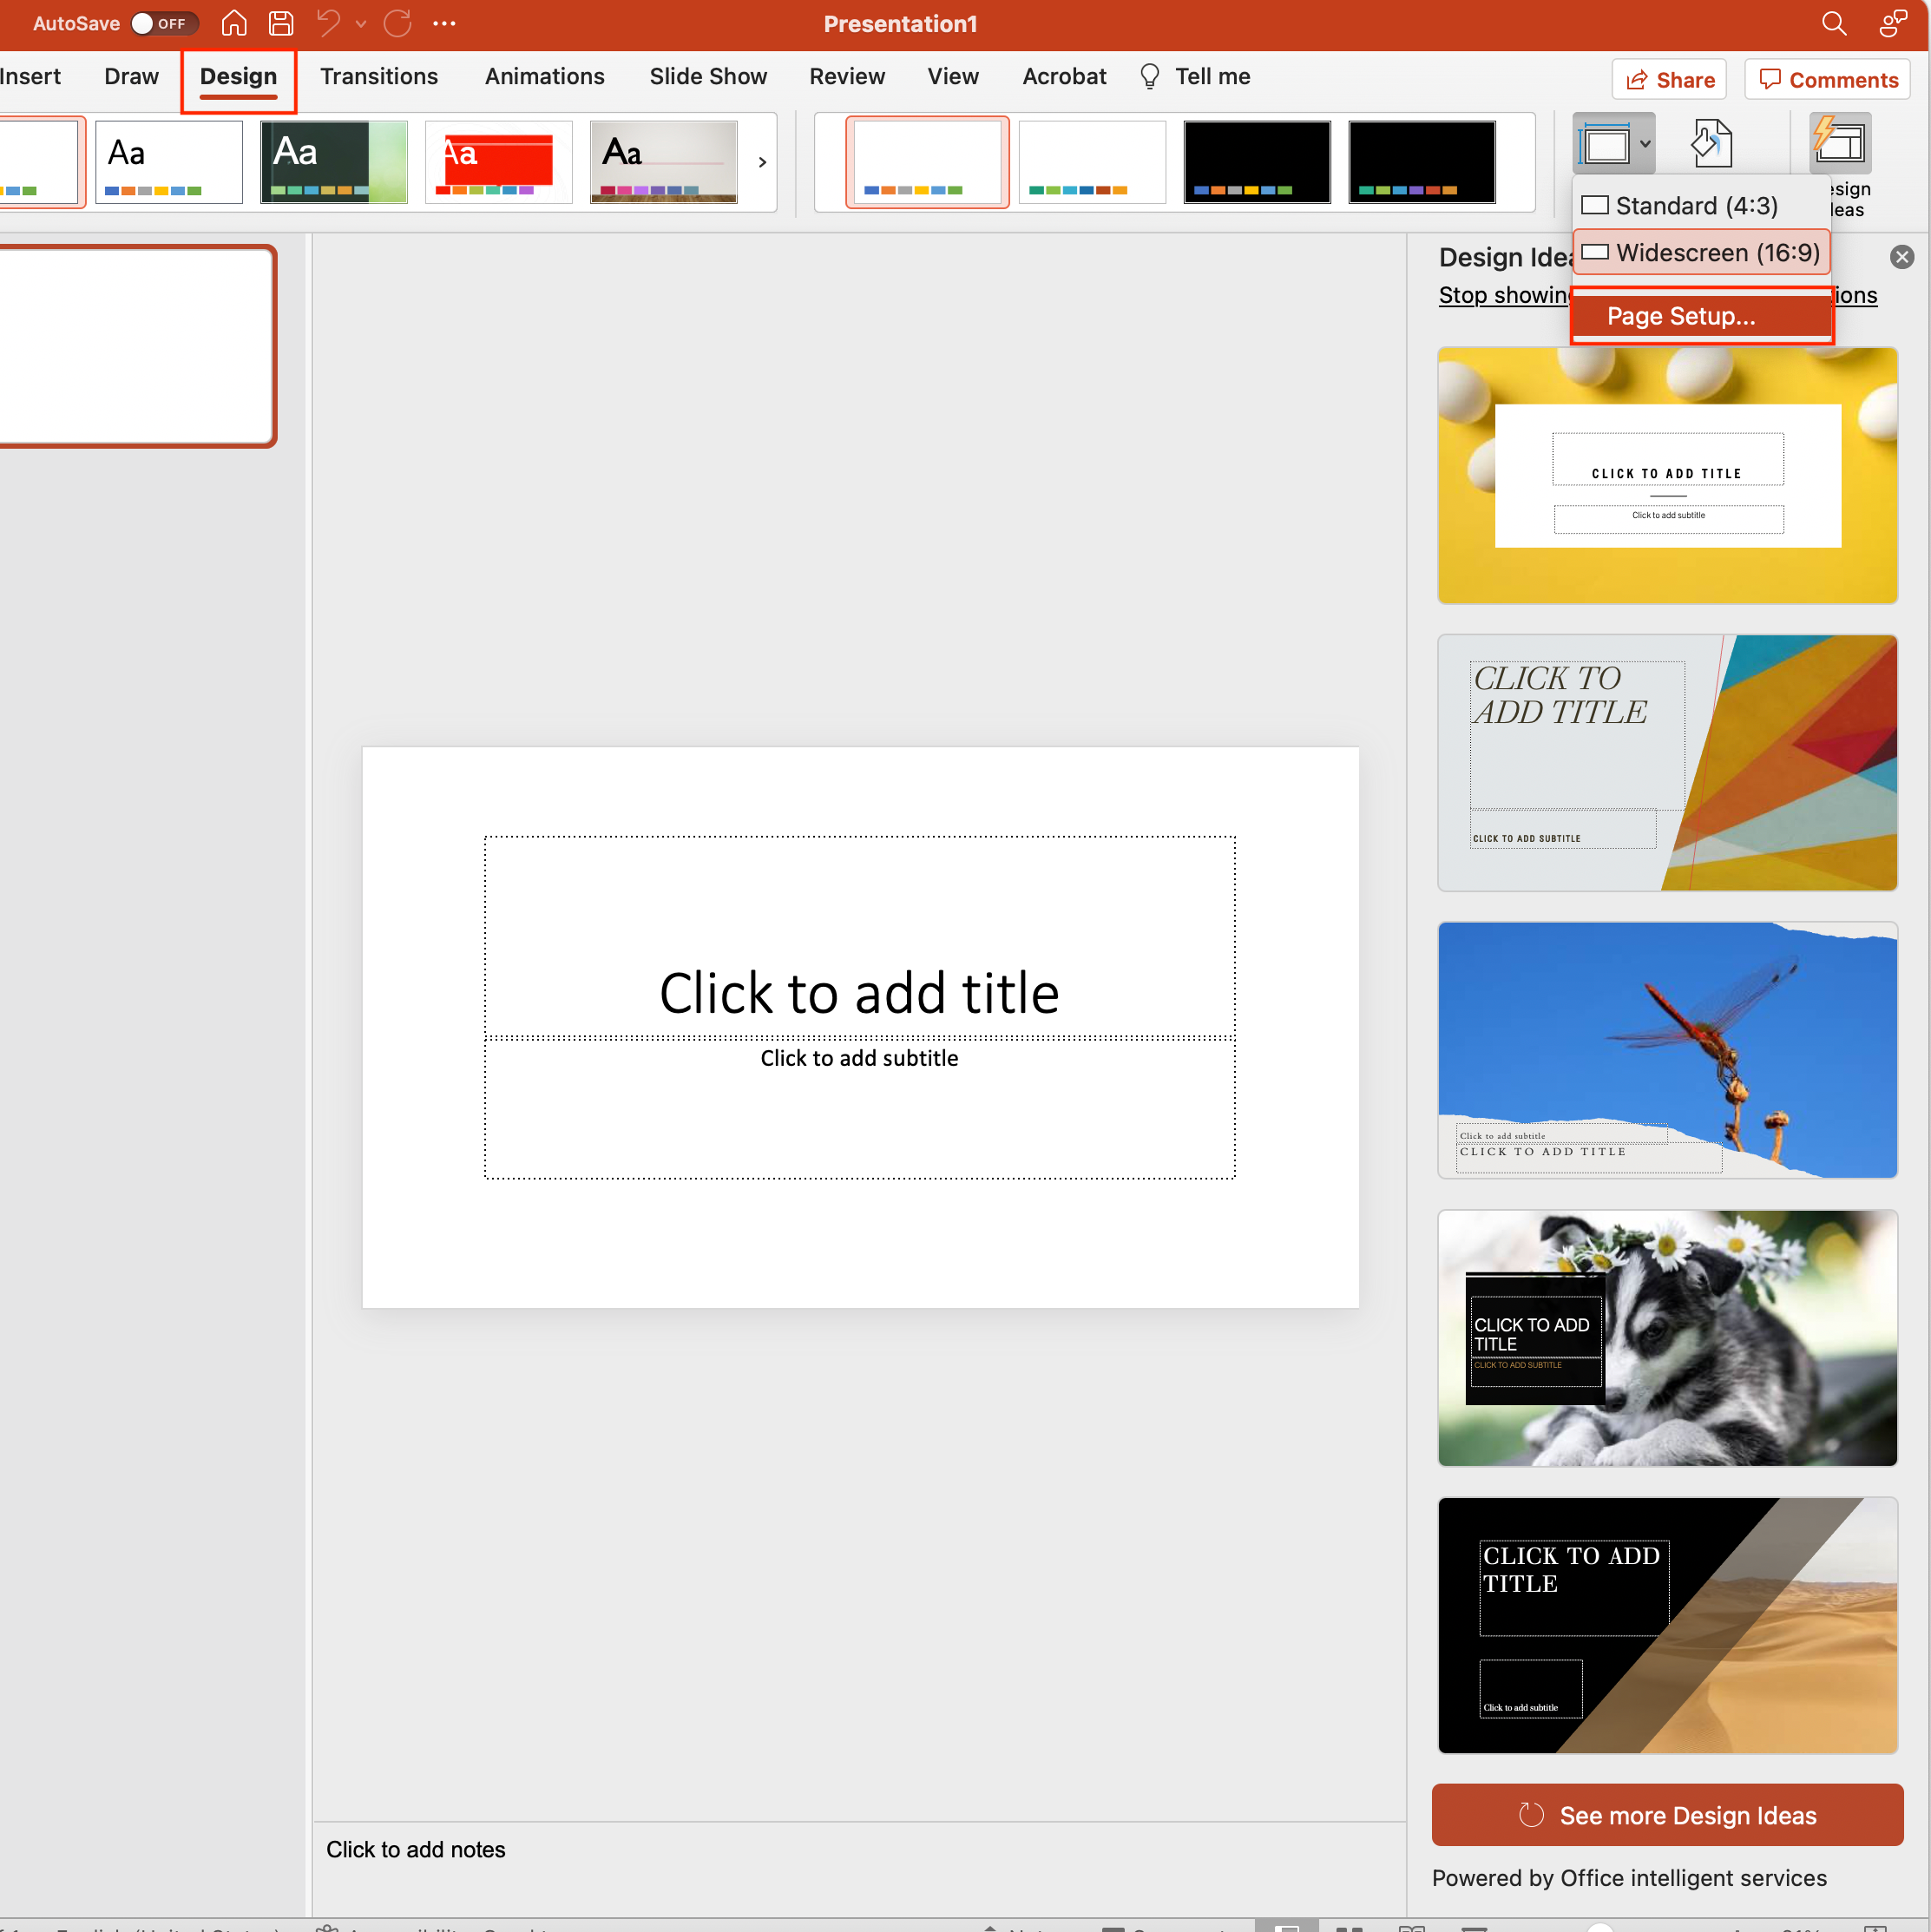
- In the top menu, select the Design tab
- Under Customize in the right corner, locate the dropdown menu labeled “Slide Size” and select “Custom Slide Size”
- When entering your Custom Sizing, we suggest entering the size at 0.25" larger than your intended print size. For example, if you’re wanting to print at our 11”x8.5” size, enter 11.25” and 8.75” as your measurements.
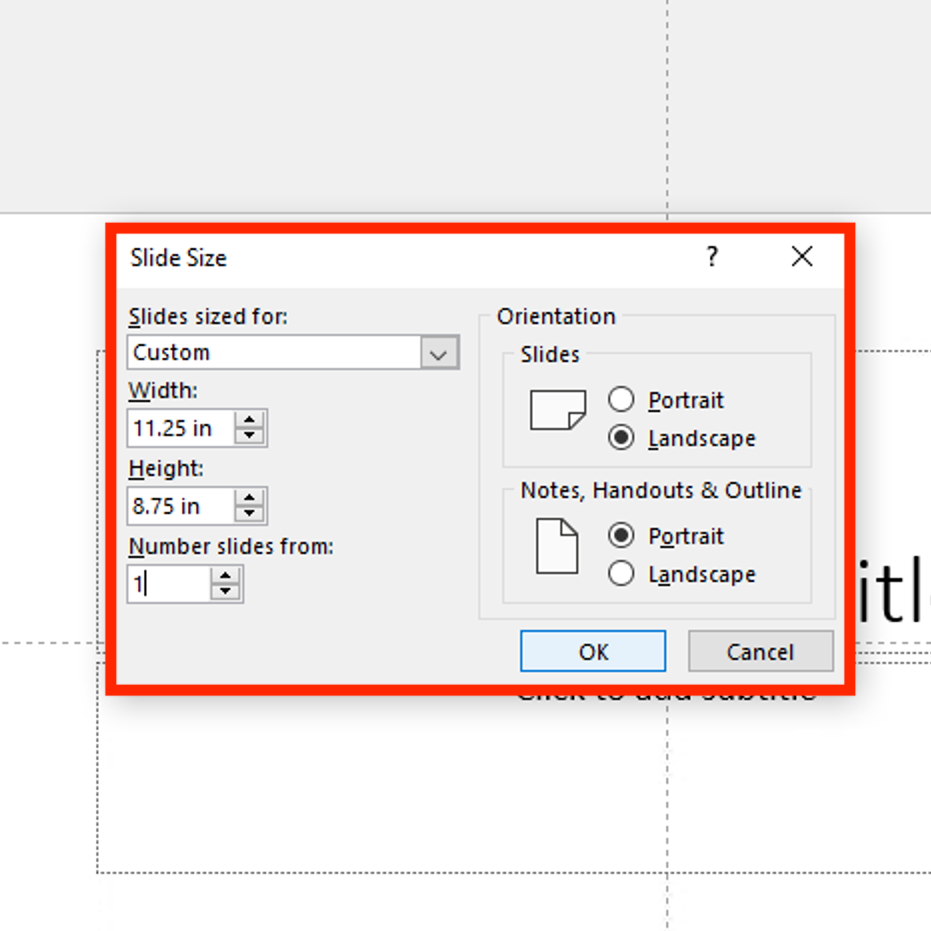
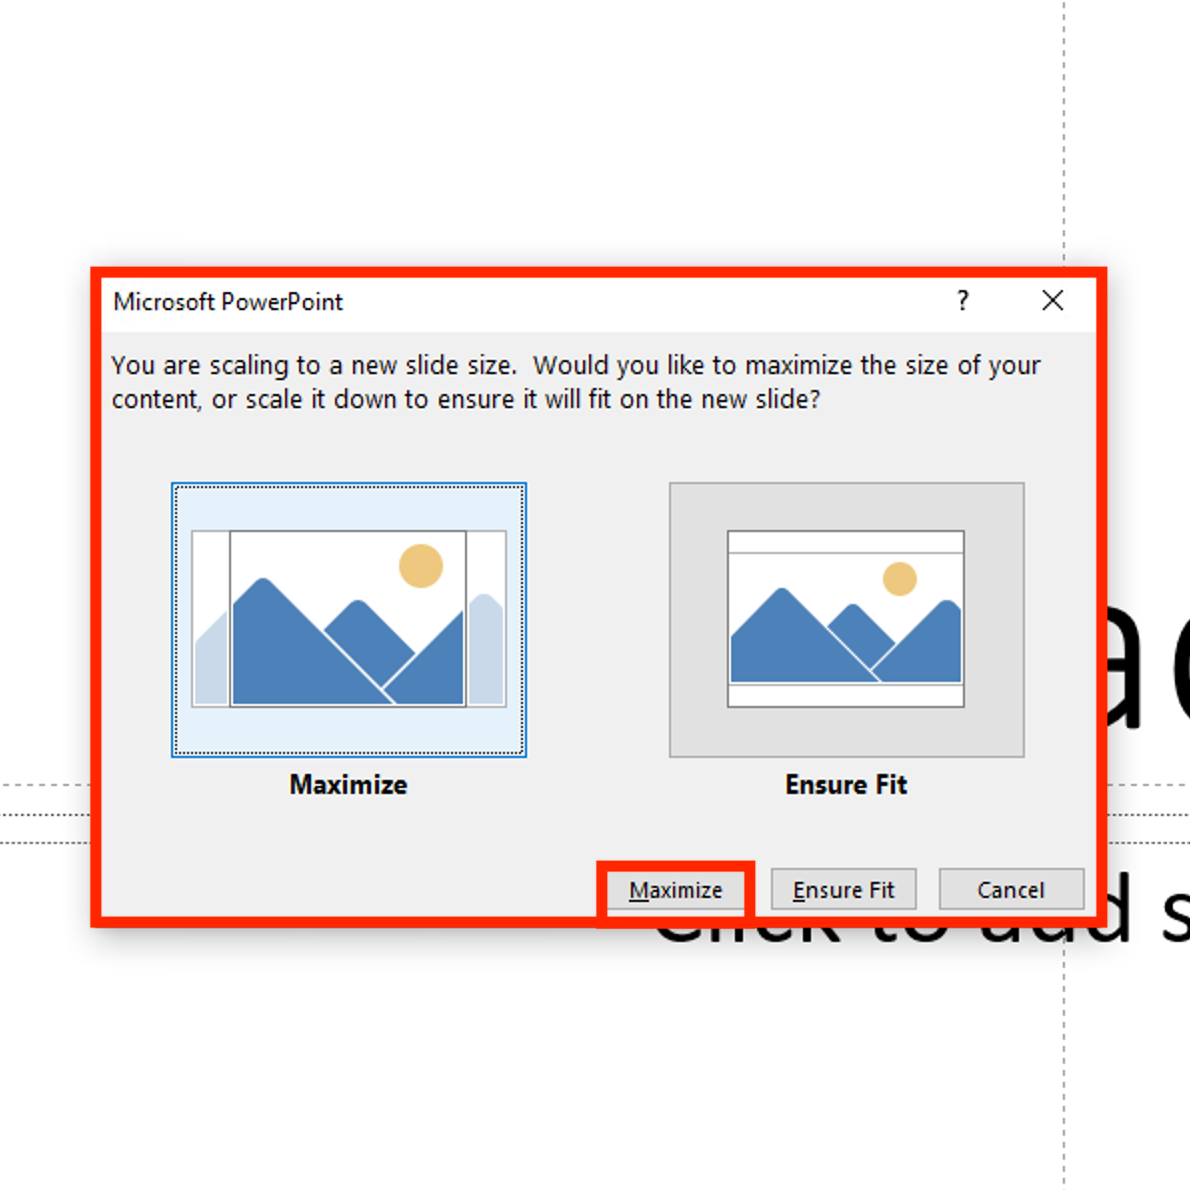
- A pop-up dialog will appear saying “Would you like to maximize the size of your content, or scale it down to ensure it will fit on the new slide?” Select “Maximize”.
- You’re ready to design!
Setting Up Your Project on a Mac Desktop
To get started:
- Open PowerPoint
- Select a Theme (I used “Blank Presentation”) and then click “Create”
- In the top menu, select the Design tab
- Under Customize in the right corner, locate the dropdown menu labeled “Slide Size” and select “Page Setup”
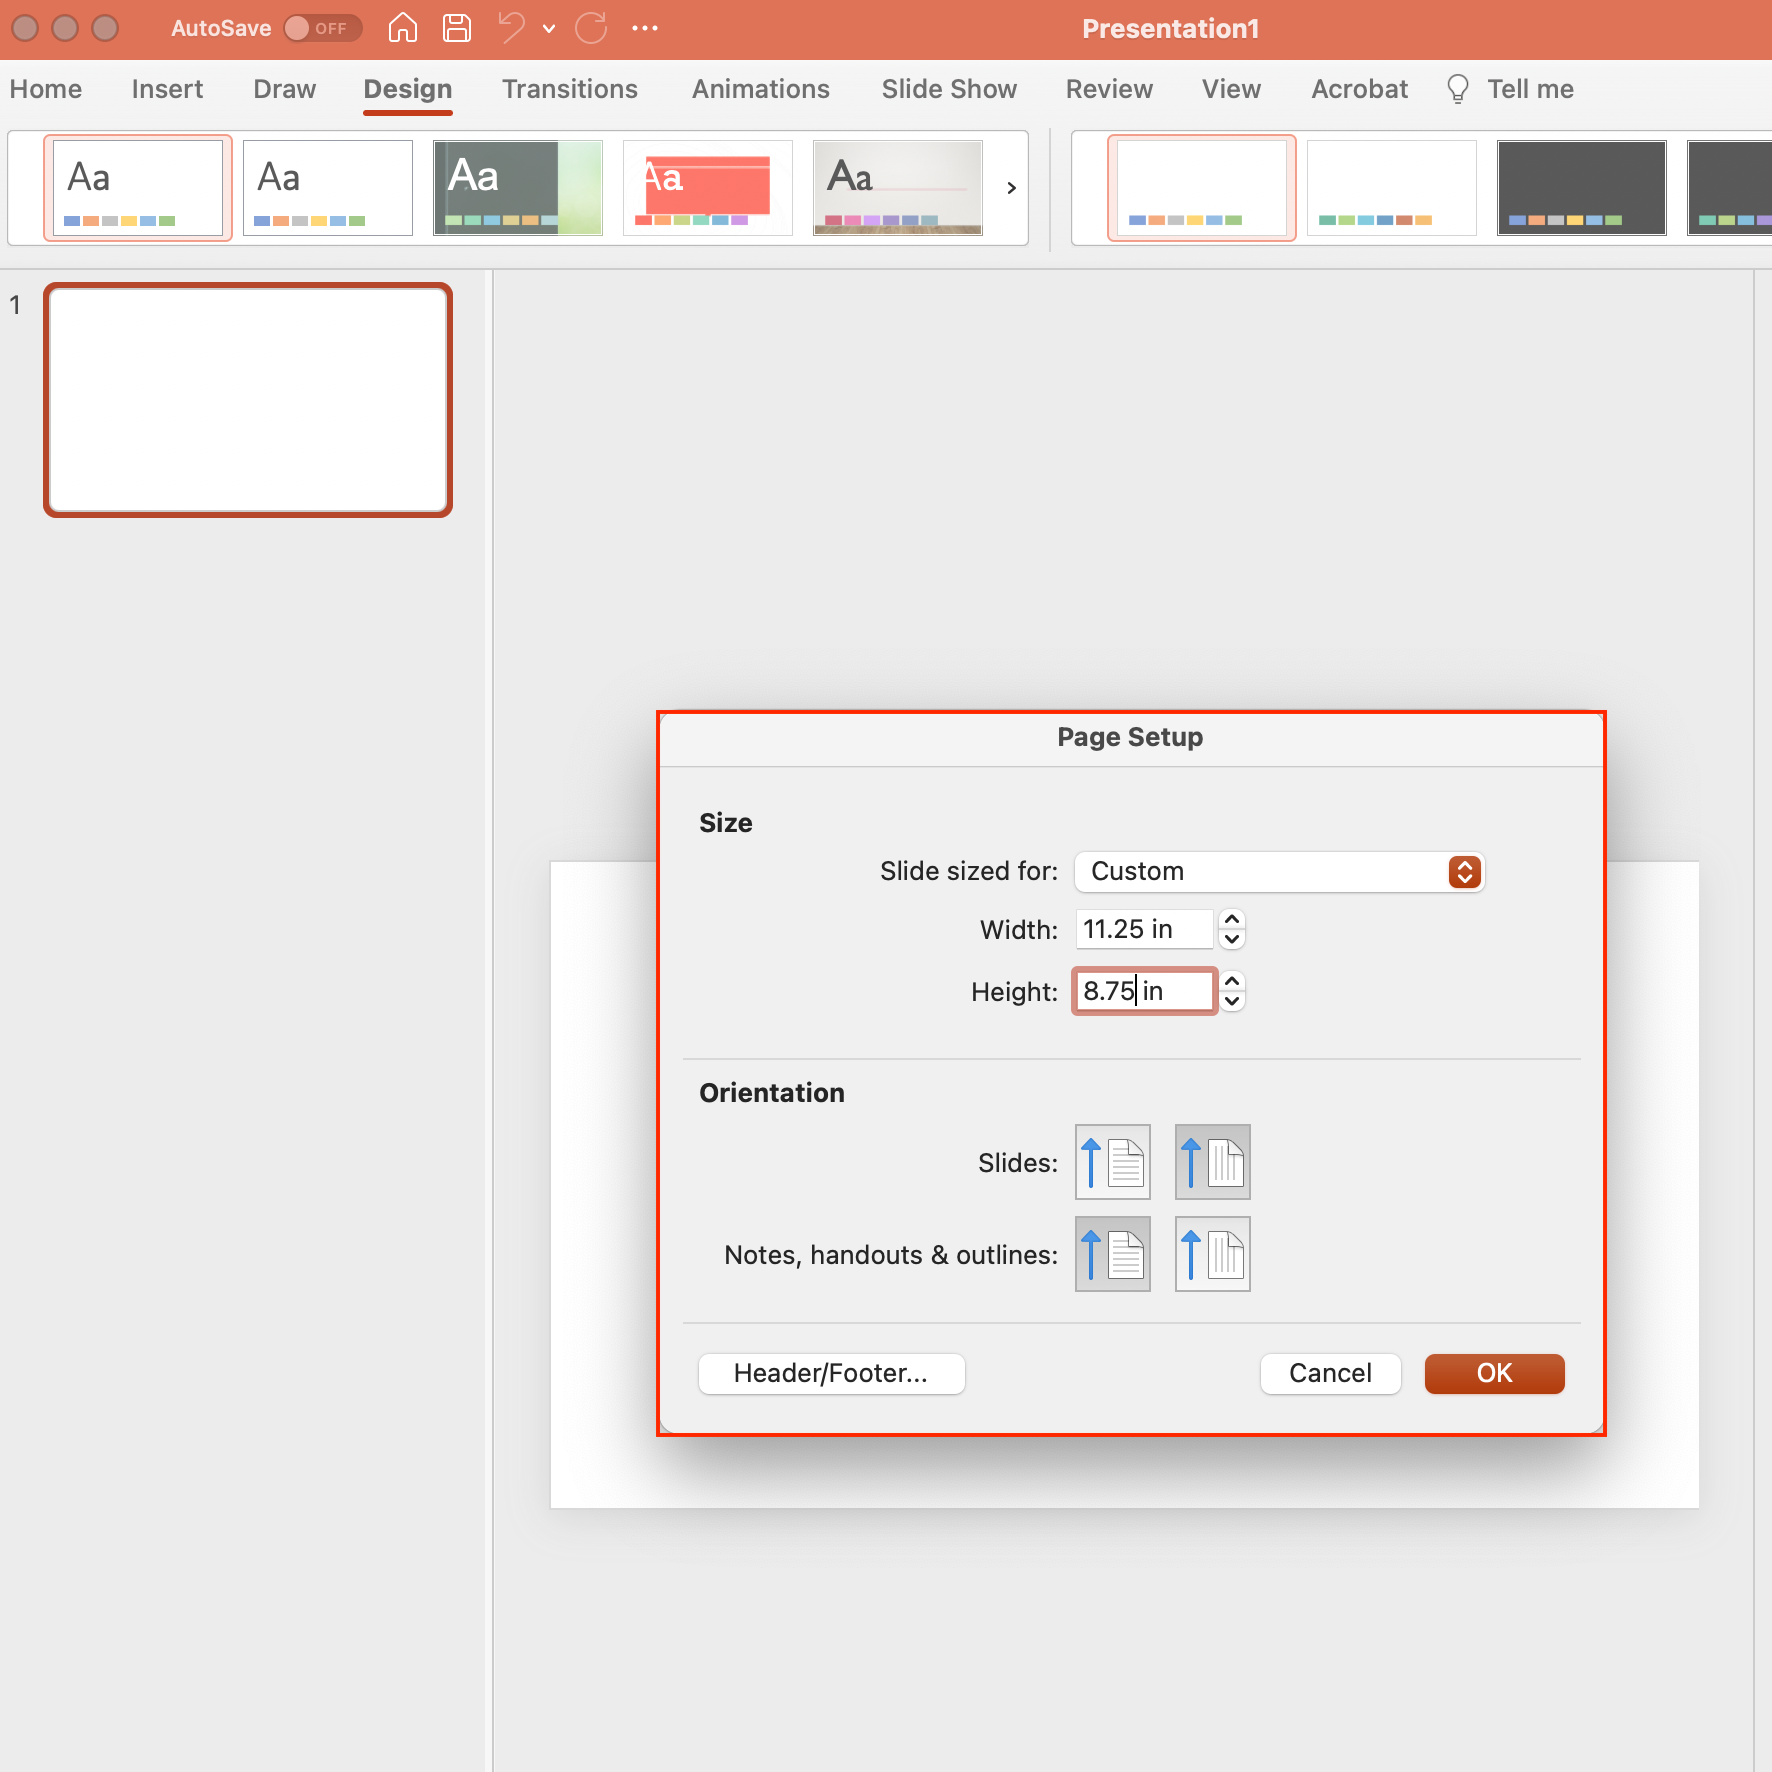
- When entering your Custom Sizing, we suggest entering the size at 0.25" larger than your intended print size. For example, if you’re wanting to print at our 11”x8.5” size, enter 11.25” and 8.75” as your measurements.
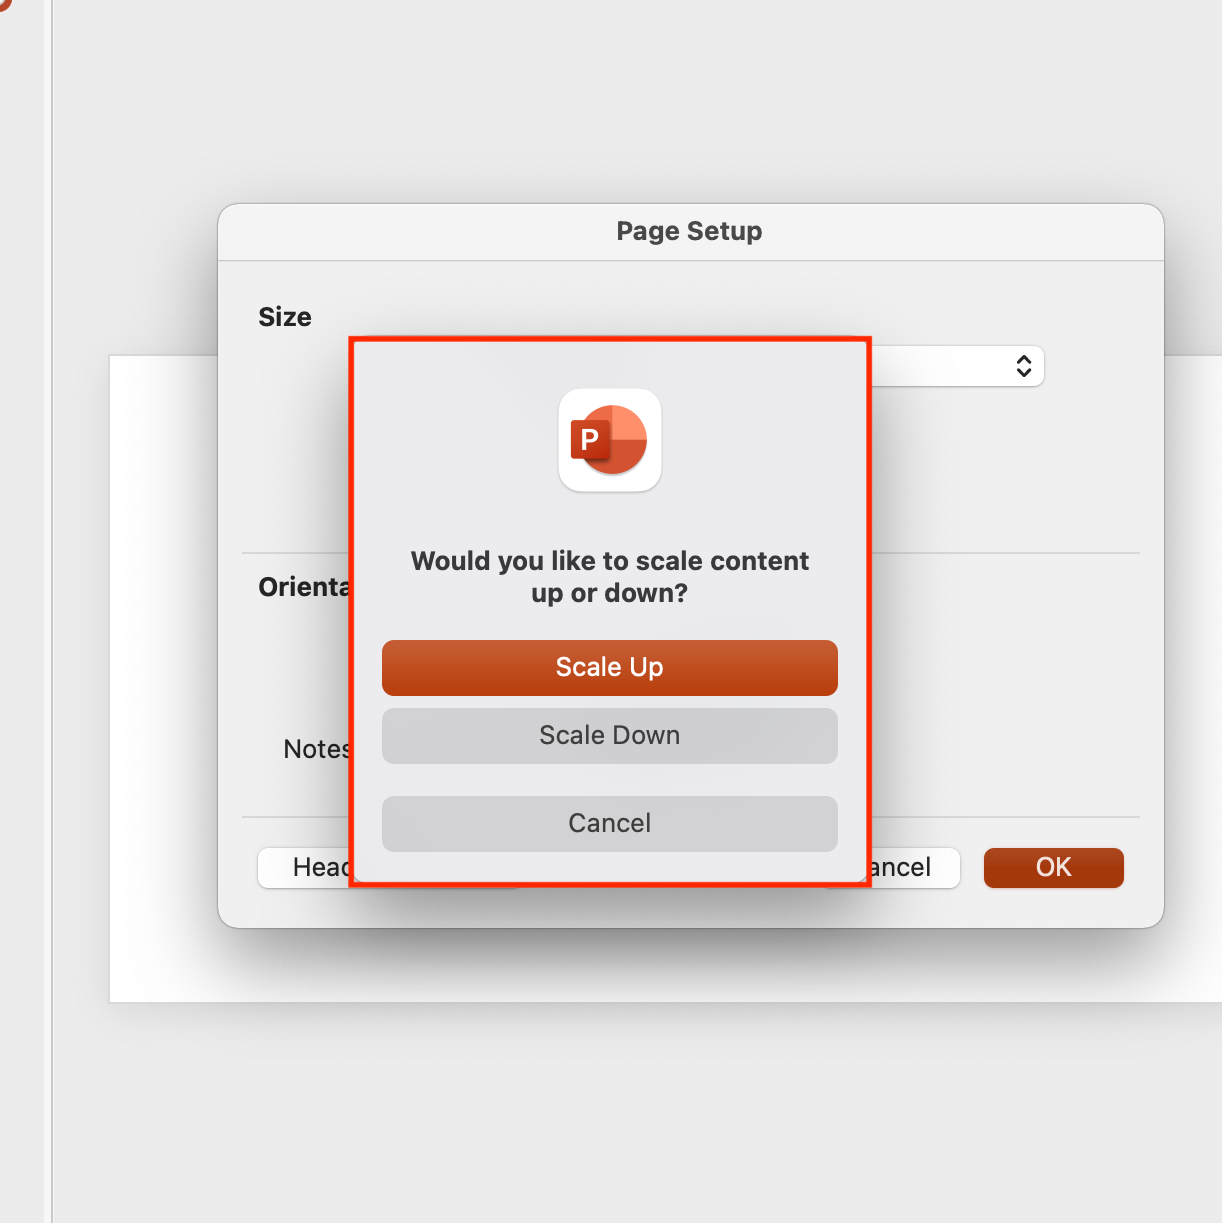
- A pop-up dialog will appear saying “Would you like to scale content up or down?” Select “Scale Up”.
- You’re ready to design!
Designing and Editing your Project
Designing your project is where you get to let your creativity shine! There are no rules, we just ask that you keep our crop guides in mind when designing so that your project is in tip-top share for printing. You can learn more about setting up your project for success on our Cropping and Bleed page.
Let's get designing!
- When designing your project, we suggest designing the First slide as your Front Cover and your Second slide as your Back Cover. You’ll be able to specify where these covers are when you upload your file to our site!
- To begin designing, you can either select “Design” to choose from some pre-designed template layouts, or by selecting “Insert” to create your own layout!
- To adjust your page layout base, you can click the “Layout” dropdown on the Home menu.
- Make sure you’re designing with your minimum and maximum page counts in mind. You can find details on all of our products on our Product Catalog
Design Questions?
Please Contact Us with any questions you may have about designing in PowerPoint!
Exporting your Project as a Single PDF
- In the top left, select File > Export
- Select “PDF” from the dropdown menu
- Name your file
- Click “Export” and you’re done!
Since PowerPoint can be a bit tricky, we suggest running your PDF through a PDF Conversion Software such as FoxIt to ensure that your fonts are embedded and that there are no processing errors for your file.
Exporting your Project as Individual JPG's
For some versions of PowerPoint, saving each slide as a JPG results in a much better quality for print work. To export your PowerPoint project as Individual JPG's, follow the steps below:
- In the top left, select File > Export
- Select “JPEG” from the dropdown menu
- Name your file
- Under the Width x Height measurements, you’ll see the numbers listed in points rather than inches. To calculate points, multiply your inch value by 72.
- Once Exported, your slides will be individual images located in one single folder. You can then upload those images into a project on our Online Designer!
A Few FAQs
When entering your Custom Sizing, we suggest entering the size at 3 times larger than your intended print size to ensure that the final resolution is 300 DPI. For example, if you’re wanting to print at our 11”x8.5” size, enter 33.75” and 26.25” as your measurements. 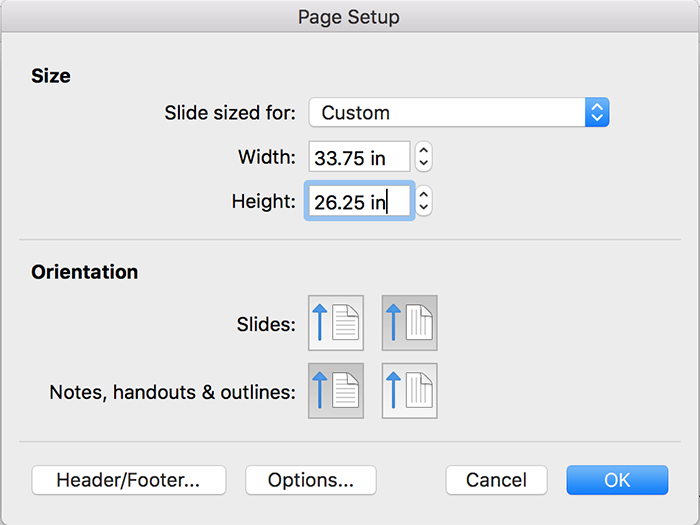
Yes, but proceed with caution.
Depending on the version you're using, your project may be fine. If you're designing with PowerPoint 2011 or older, we suggest altering your file size. Feel free to Email Us your Project ID# and we can review your file to see if we think it will print okay!
Uh oh, ch,ances are you created your PDF in a different ratio than what you wanted. Generally, in this case you’ll need to go back to the drawing board (or PDF creation program) and adjust the size of your PDF to fit what you want. If you have questions about what size you’ll need to make your project you can always email us or hop on Live Chat!
Chances are you made your book using the default PowerPoint slide size, no need to worry! Just follow the steps above starting from Step 4 to resize your document to a size we offer. Not sure what sizes we have? Just visit our Product Catalog