The instructions on this page are intended for users who are creating their project using the most recent Word release (16.14.1).
Using an Older version of Word? Some features may or may not work, though if you have any specific questions, feel free to Email Uswith your current version and what questions you may have.
Setting Up Your Project on a Microsoft Desktop
To get started:
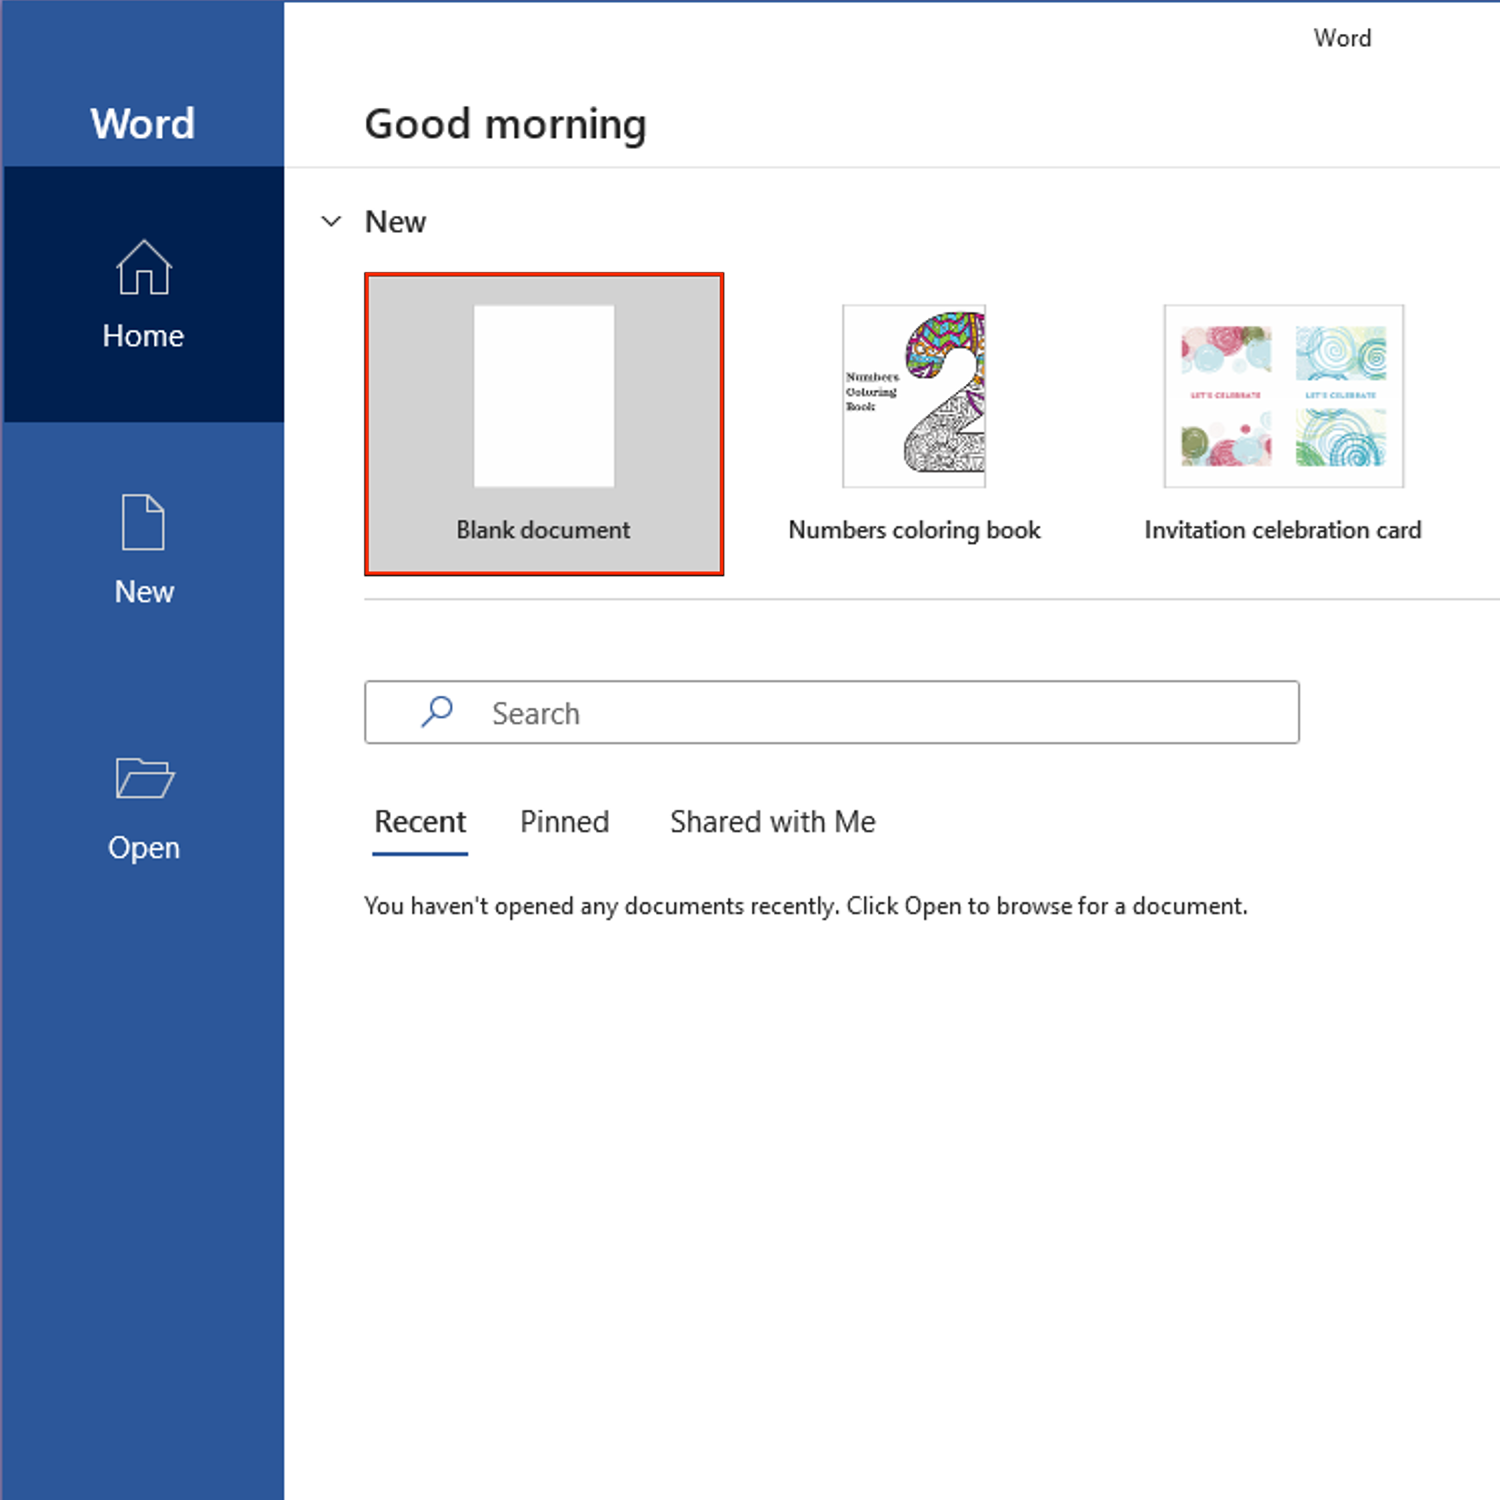
Open Word
Select a Template (I used “Blank Document”)
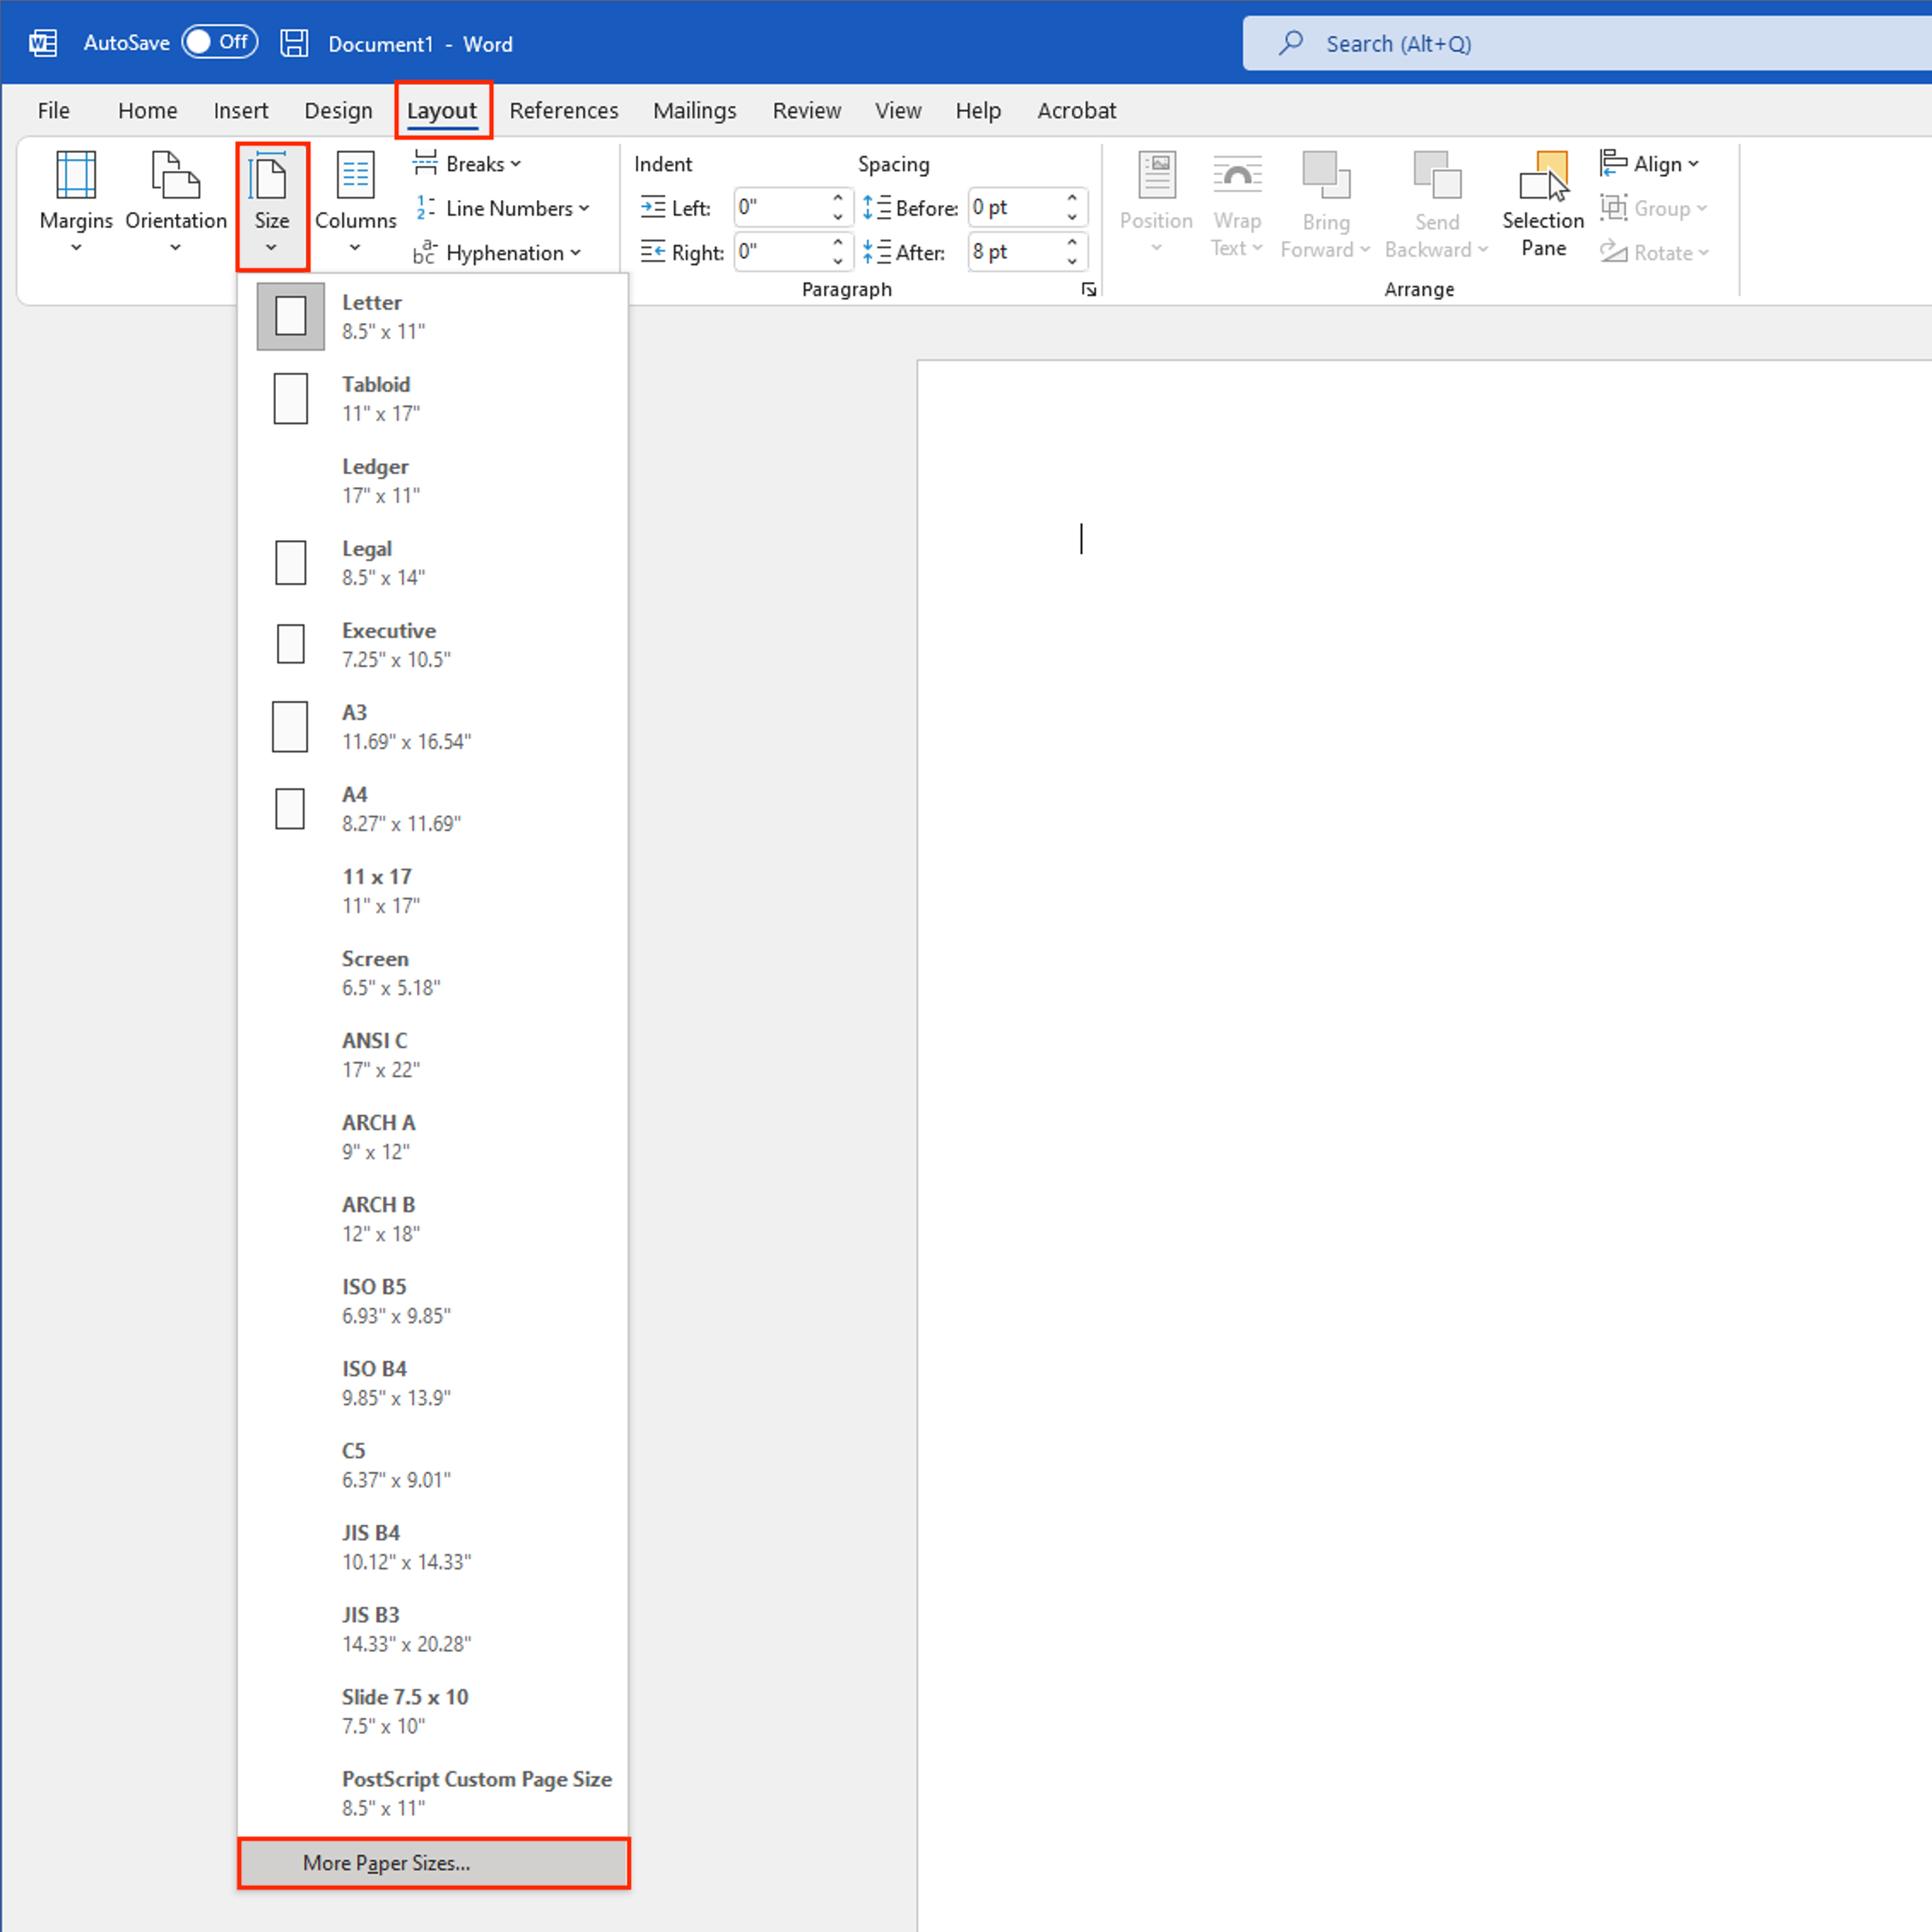
Select Layout > Size > More Paper Sizes
In the pop-up window click “Paper” then enter your page dimensions.
We suggest creating your file at .25” larger than your intended print size. Example: If you’re wanting to print at 11”x8.5”, enter the page size as 11.25”x8.75”.
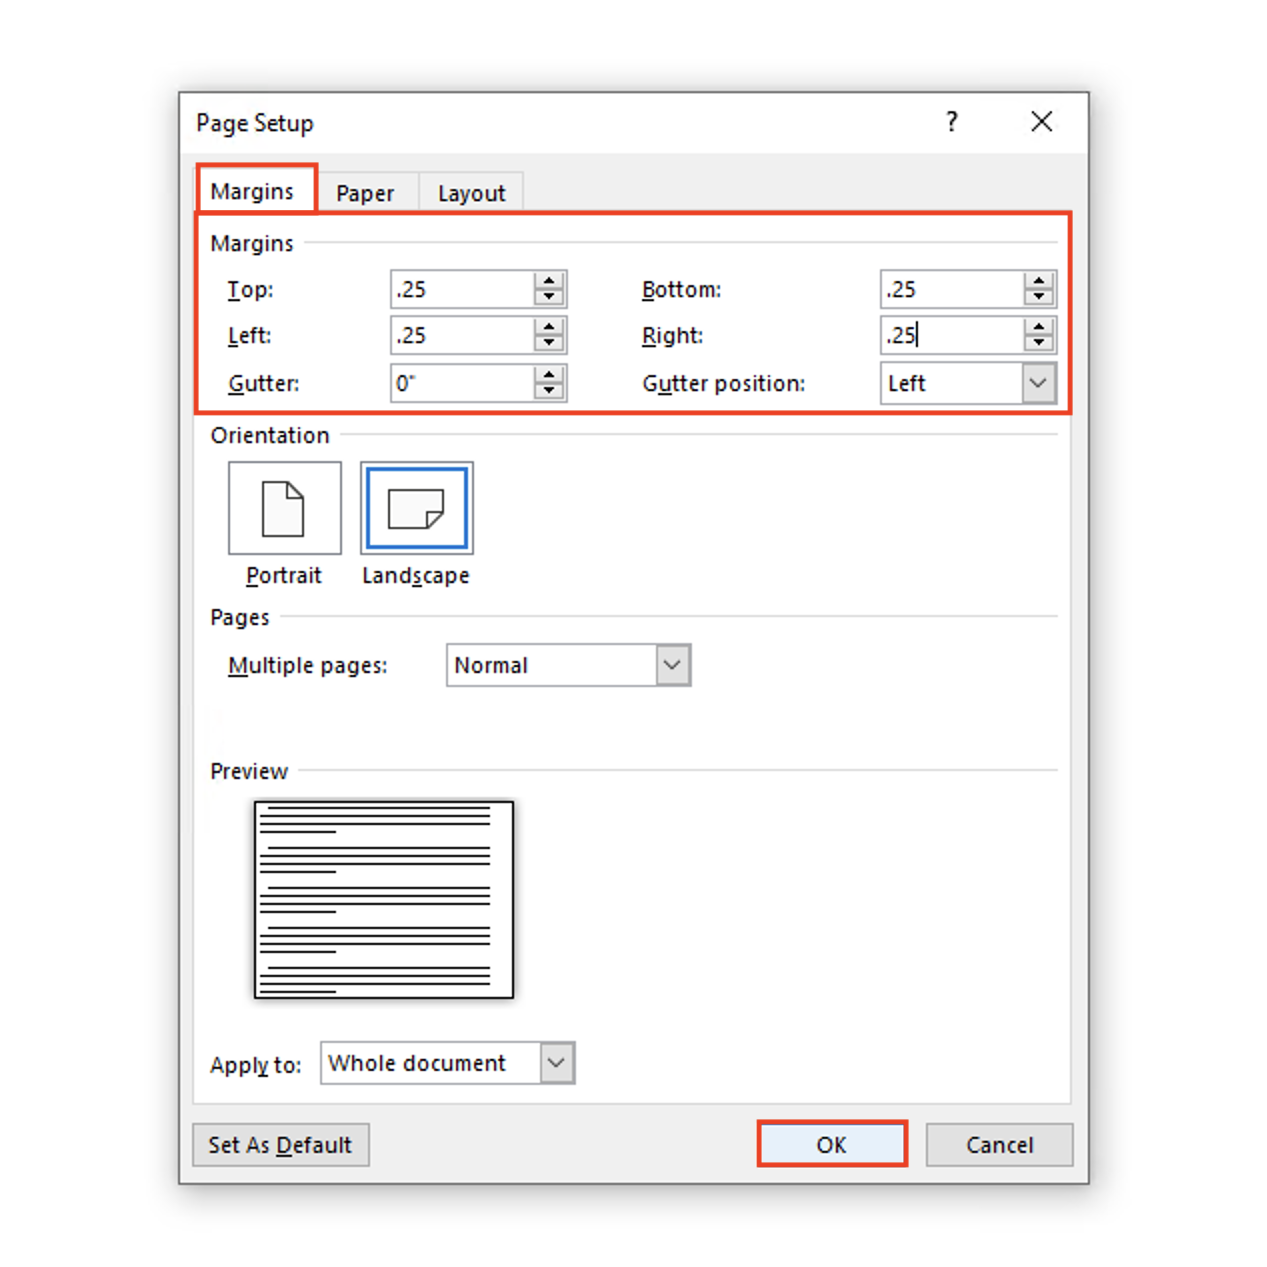
Once you have set your page size click on the "Margins" tab and set all margins to .25 for narrow margins or .5 for medium margins
You may get a warning stating that "Some margins are outside of the printable area of the page." Choose "Ignore" to keep your preferred margin size.
You’re ready to start designing!
Setting Up Your Project on a Mac Desktop
To get started:
Open Word
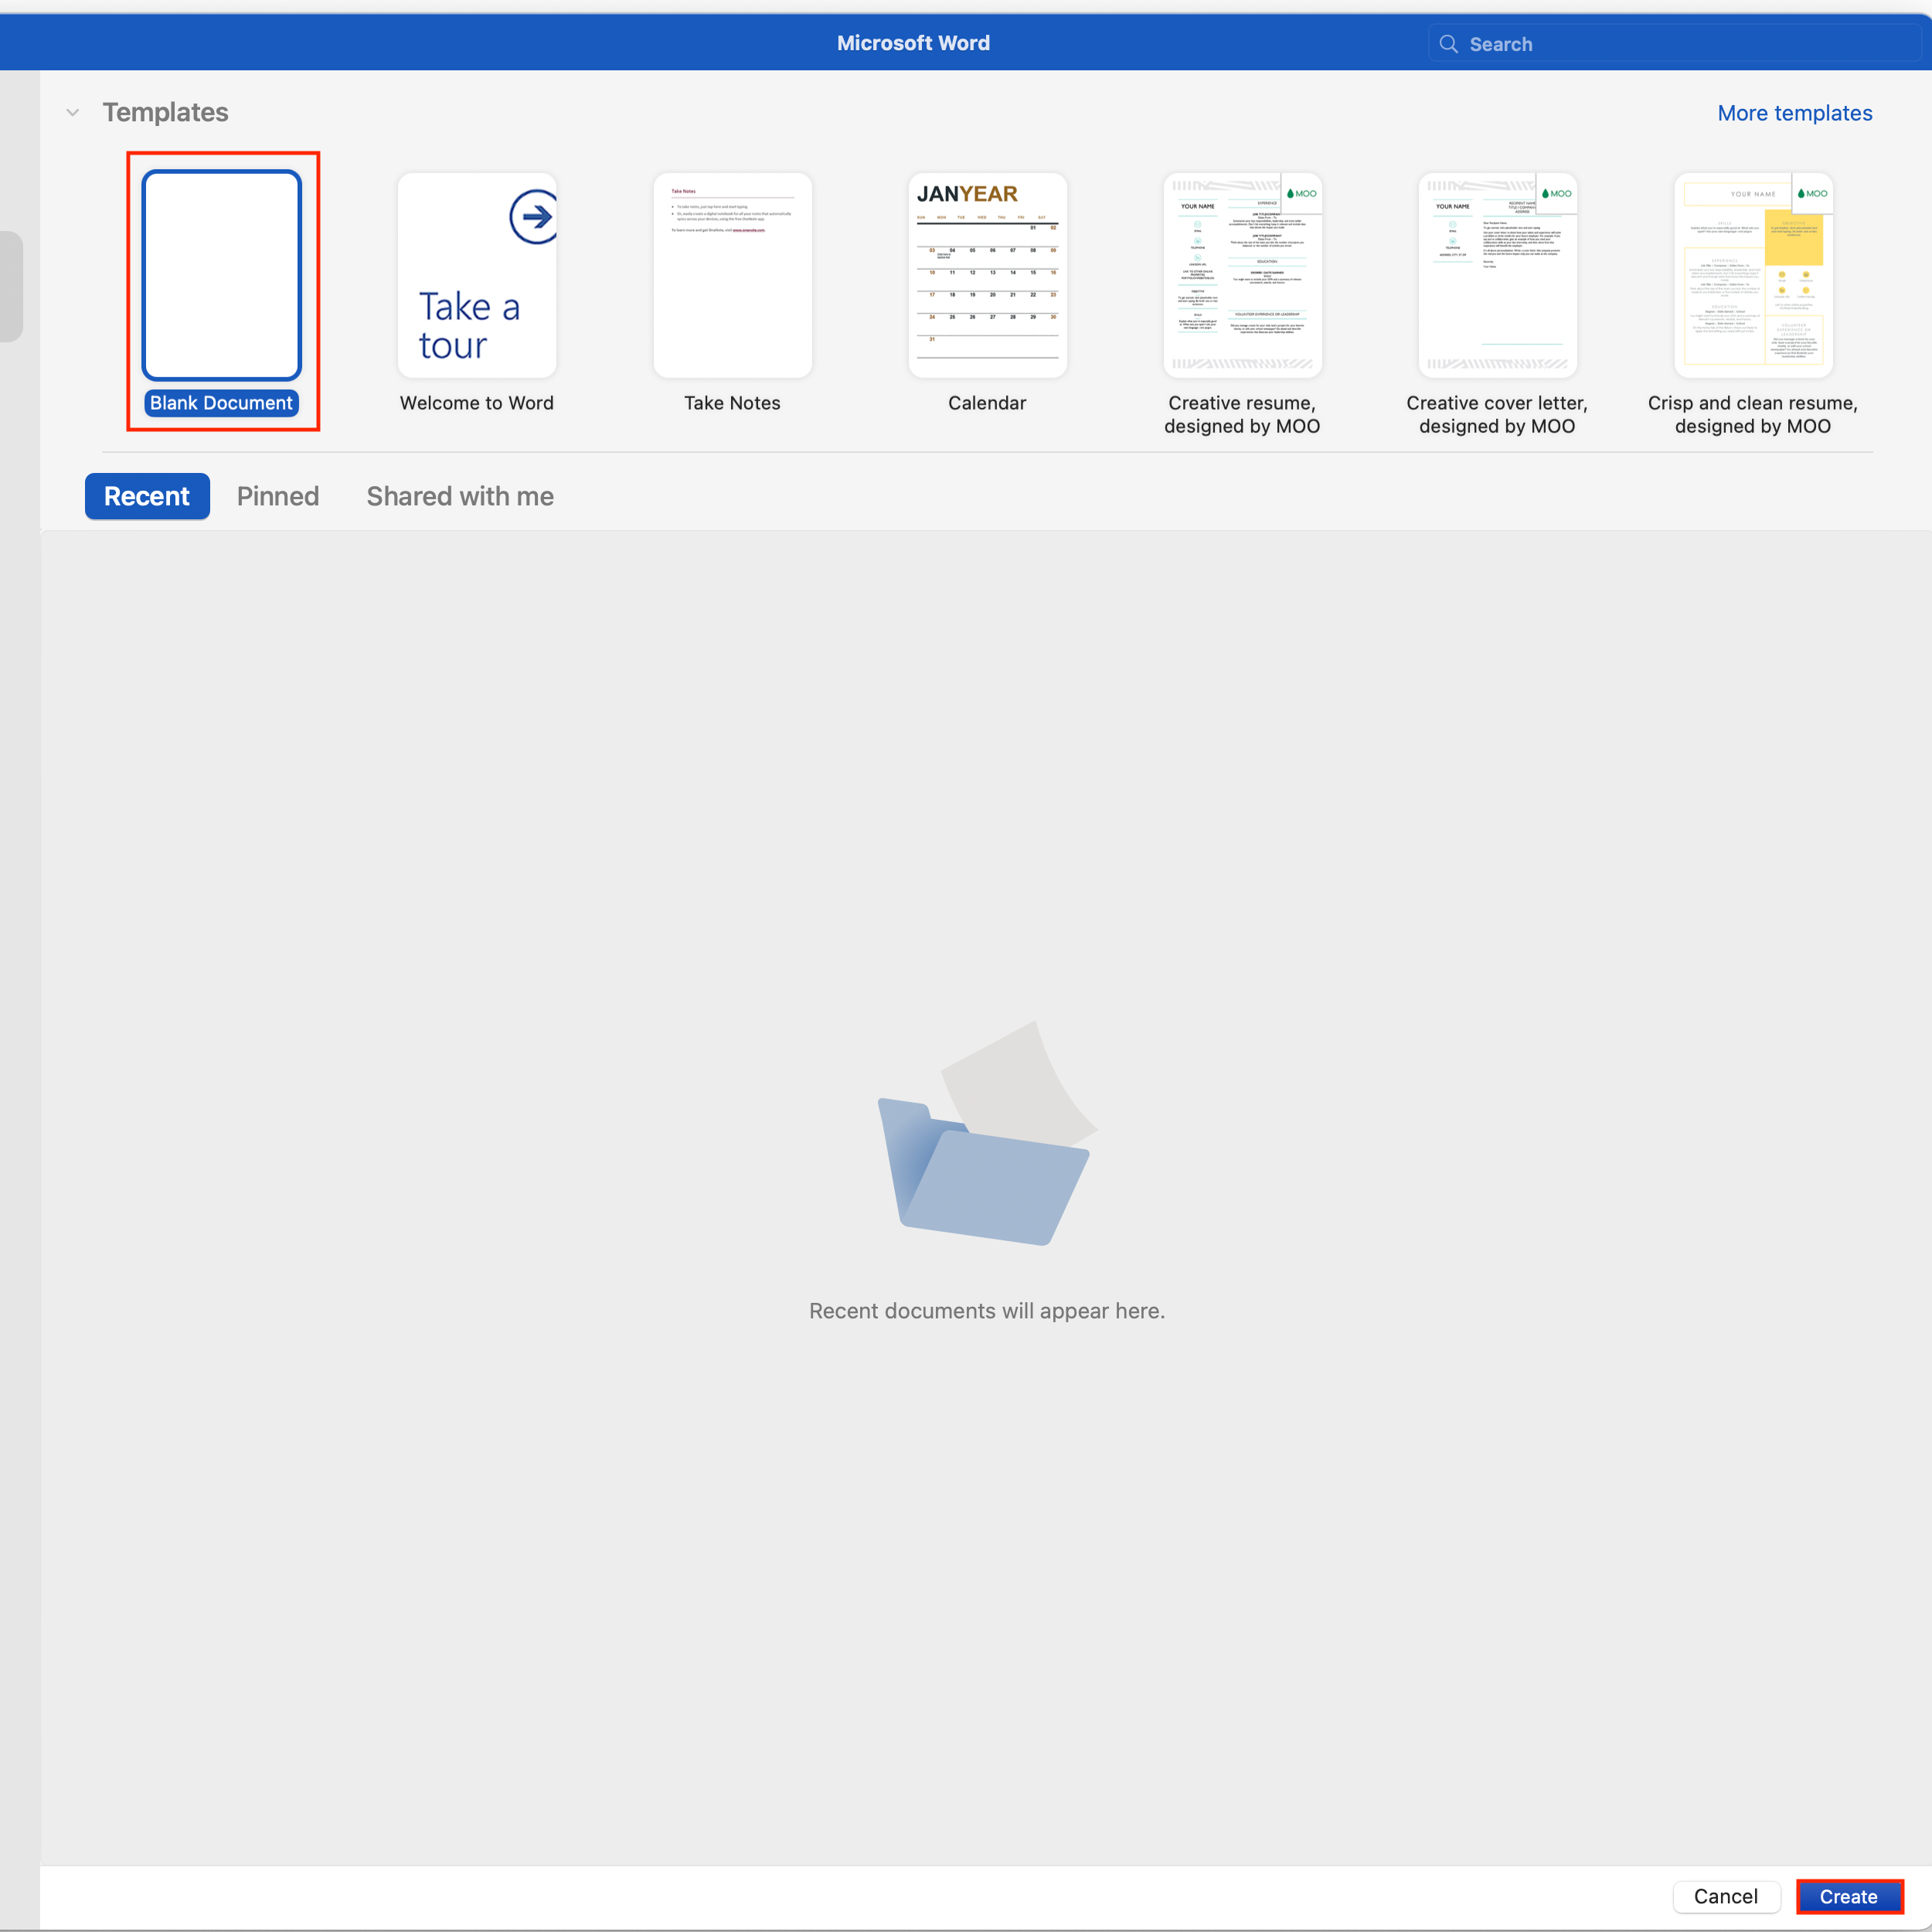
Select a Template (I used “Blank Document”) and then click “Create”
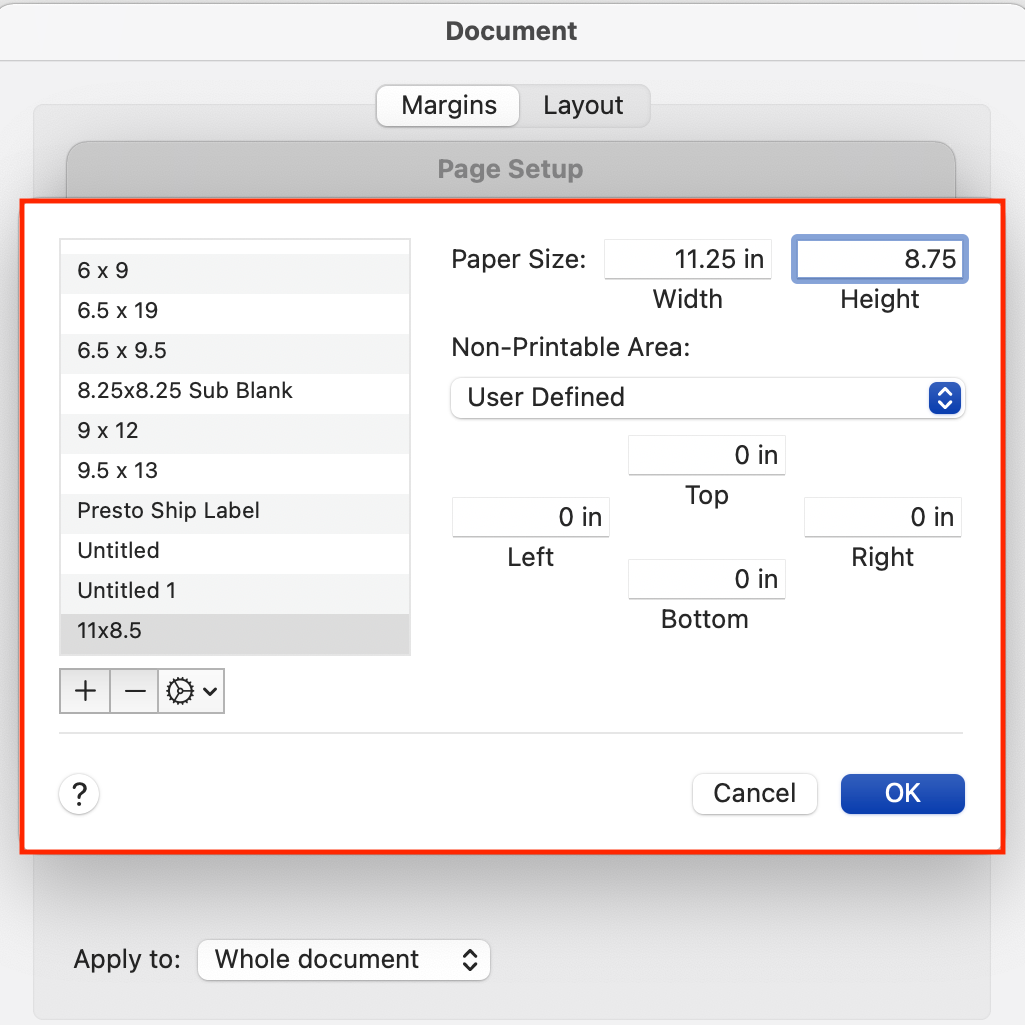
Select Format > Document
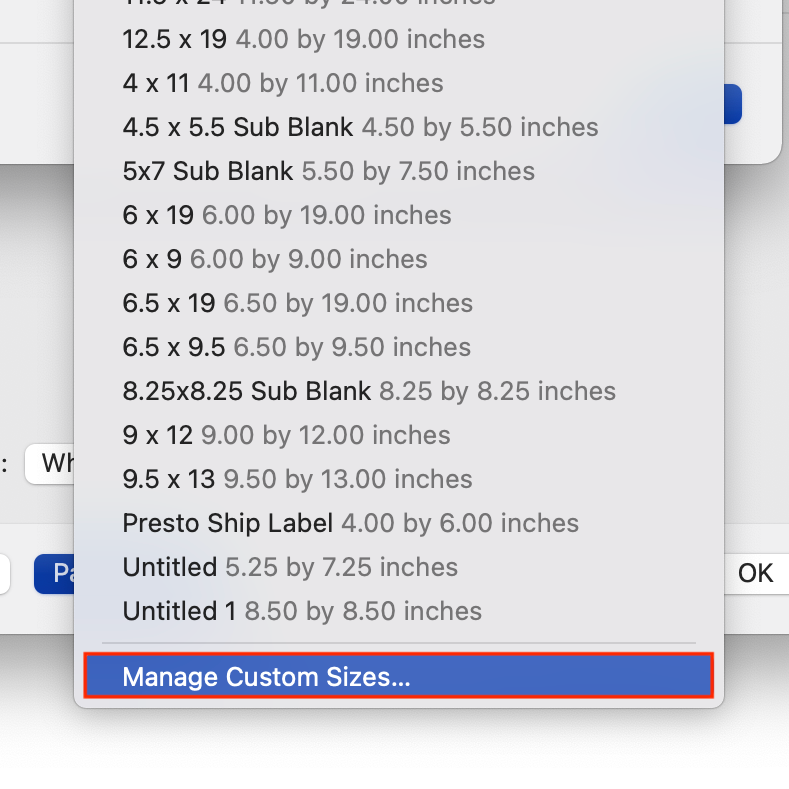
In the dropdown menu titled “Page Size” click “Manage Custom Sizes”
In the dropdown menu titled “Page Size” click “Manage Custom Sizes”
We suggest creating your file at .25” larger than your intended print size. Example: If you’re wanting to print at 11”x8.5”, enter the page size as 11.25”x8.75”.
Under “Non-Printable Area”, select “User Defined” in the dropdown menu and enter 0 for all sides.
You’re ready to start designing!
Designing and Editing your Project
Word is not the most intuitive design program when working with image-heavy projects. For projects with a large amount of text, Word is a great option!
To get started:
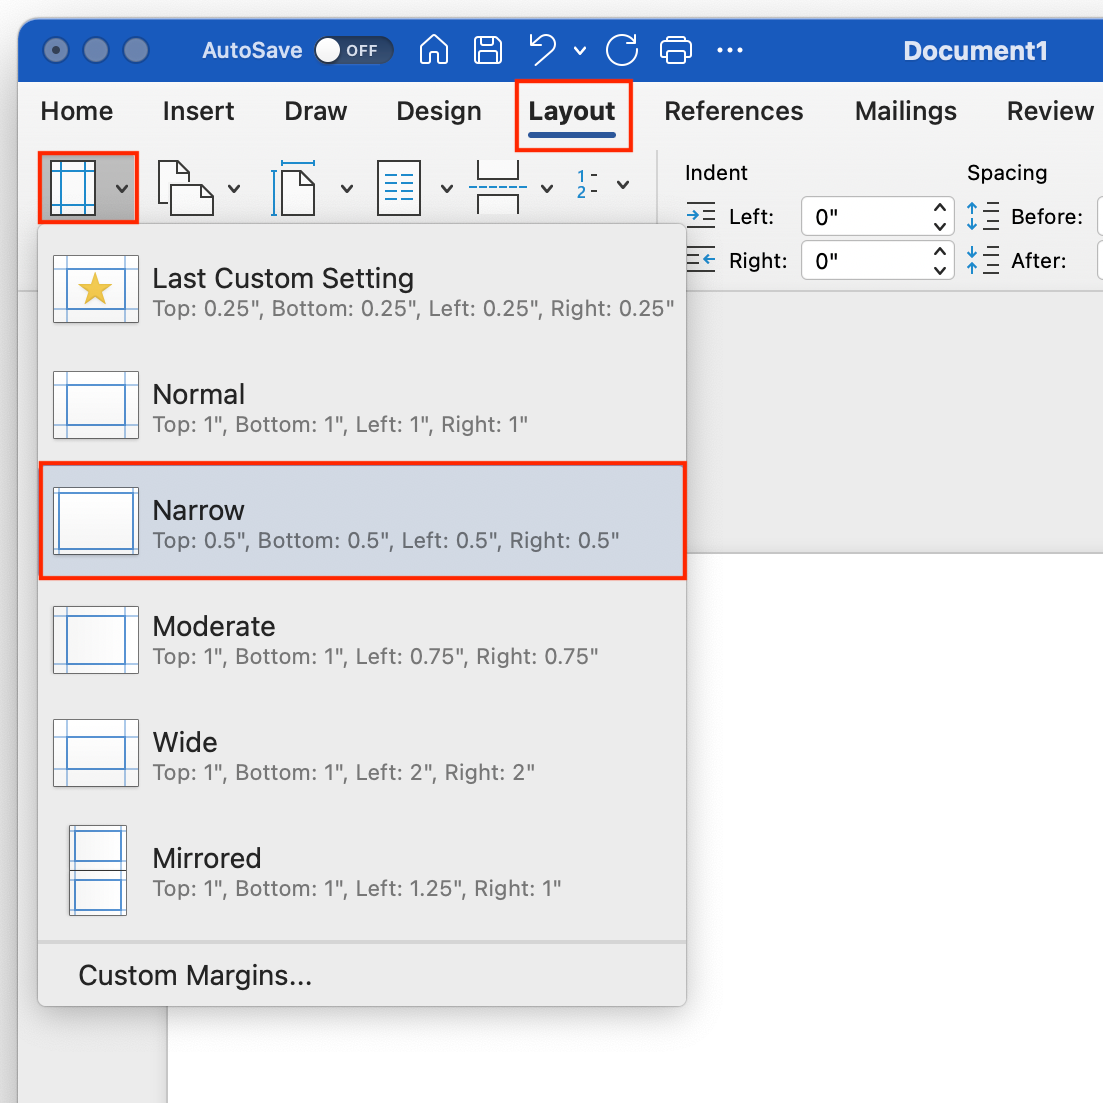
Select the “Layout” tab
Select the “Margins” button
We suggest selecting the “Normal” or “Narrow” margin options.
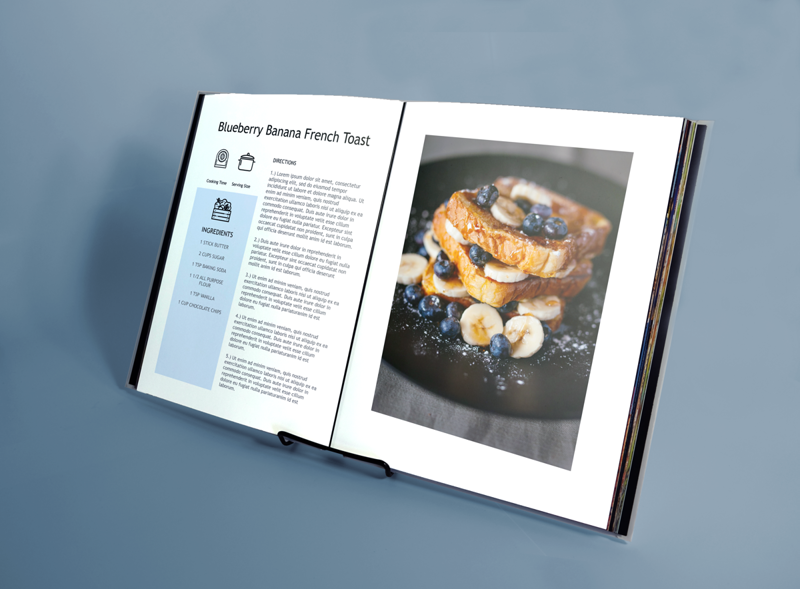
You can start designing by using the “Insert” or “Design” tabs! Please Note: We suggest designing your file with Page 1 as the Front Cover and Page 2 as the Back Cover. You’ll be able to specify where these covers are when you upload your file to our site!
Make sure you’re designing with your minimum and maximum page counts in mind. You can find details on all of our products on our Product Catalog.
Design Questions?
Please Contact Us with any questions you may have about designing in Word!
Exporting your Project as a PDF
File > Save As
In the dropdown menu, select “PDF”
Mark the checkbox that says “Best For Printing”
Click “Export”
A pop-up window will appear asking if you’d like to continue printing even though your page size is different from your print size. Click “Continue”
Another pop-up window will appear asking if you’d like to continue due to small margins. Click “Yes”