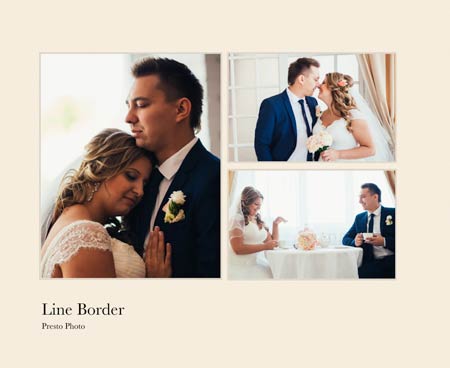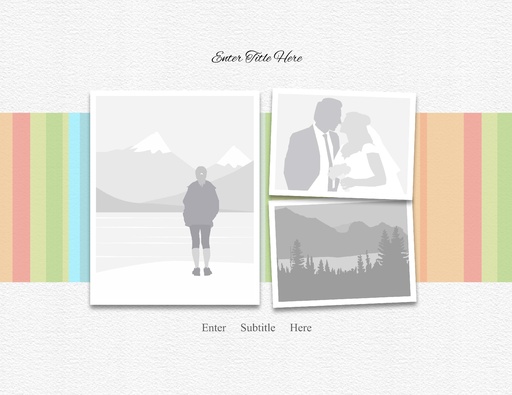
Wedding Lace
By Book Designer FREE
Tips and techniques using Adobe's flagship Desktop Publishing package
We make printing your book easy. Just upload your book and print!
By Book Designer FREE
By Apple Compat... FREE
By Apple Compat... FREE
By Apple Compat... FREE
By Apple Compat... FREE
By Presto Yearb... FREE
By Presto Yearb... FREE
By Presto Yearb... FREE
By Presto Yearb... FREE
By Presto Yearb... FREE
By Presto Yearb... FREE
By Sydney FREE
By Apple Compat... FREE
By Apple Compat... FREE
By Apple Compat... FREE
By Apple Compat... FREE
By Apple Compat... FREE

Follow these steps in Adobe InDesign to create a complete book and enjoy PrestoPhoto’s book printing and great everyday pricing!
Please note: When creating your InDesign file, you have one ideal way to create your front and back covers. You can read more about that below!
For non-commercial services with the same quality, visit our Presto Photo Adobe InDesign and PageMaker page!
When creating your book in Adobe InDesign, it is very important to understand how to best format it for printing with us. There are three key things to remember:
Unlike traditional offset production, our on-demand printing is optimized for a simple document that is the full size of the book with bleed, without crop marks.
The best way to set up your document is:
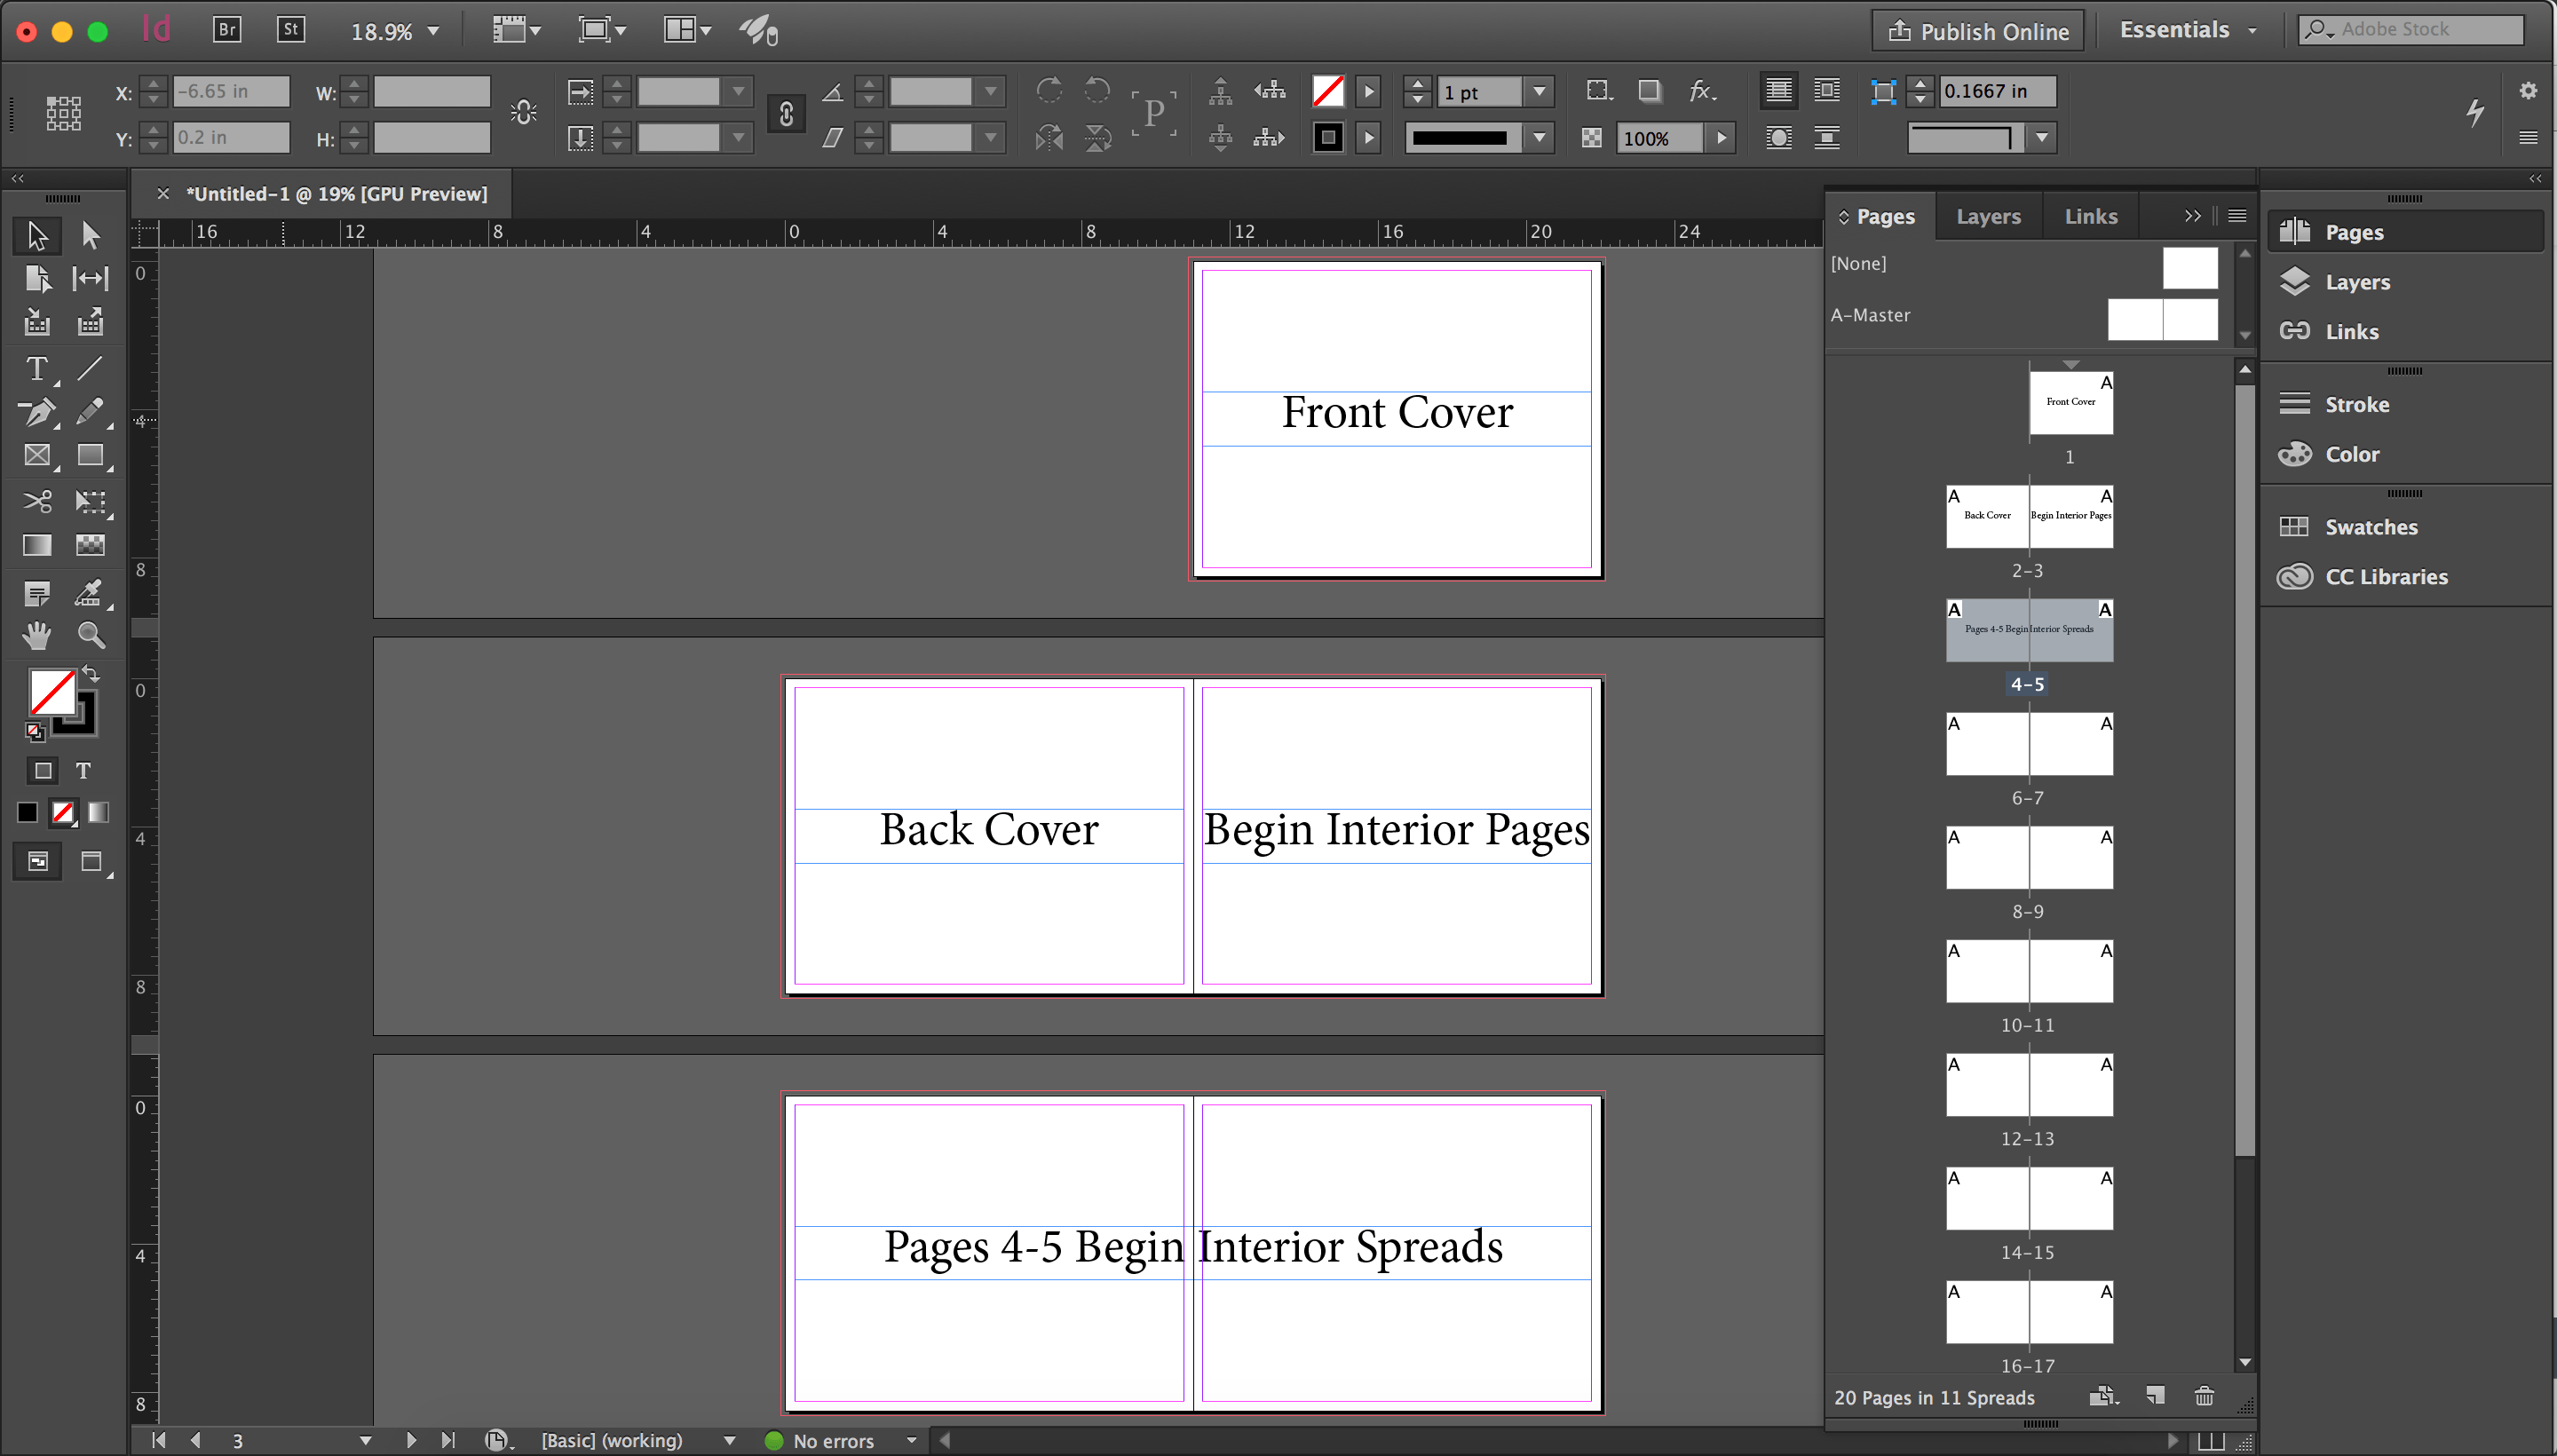
When designing your book from within Adobe InDesign, there is one fool proof way of designing your file.
When you set up your document, Page 1 should be designed as your front cover and Page 2 should be designed as your back cover. You would then begin designing your interior pages on Page 3.
Setting up your file as such allows your first two pages to be removed during upload without altering the pagination of the interior of your document!
Please Note: If you intend to design 2-page spreads, keep in mind you will ned to start designing these spreads on an even number. If you start your 2-page spreads on an odd number, the pagination of your project will be off and the spreads will print incorrectly.
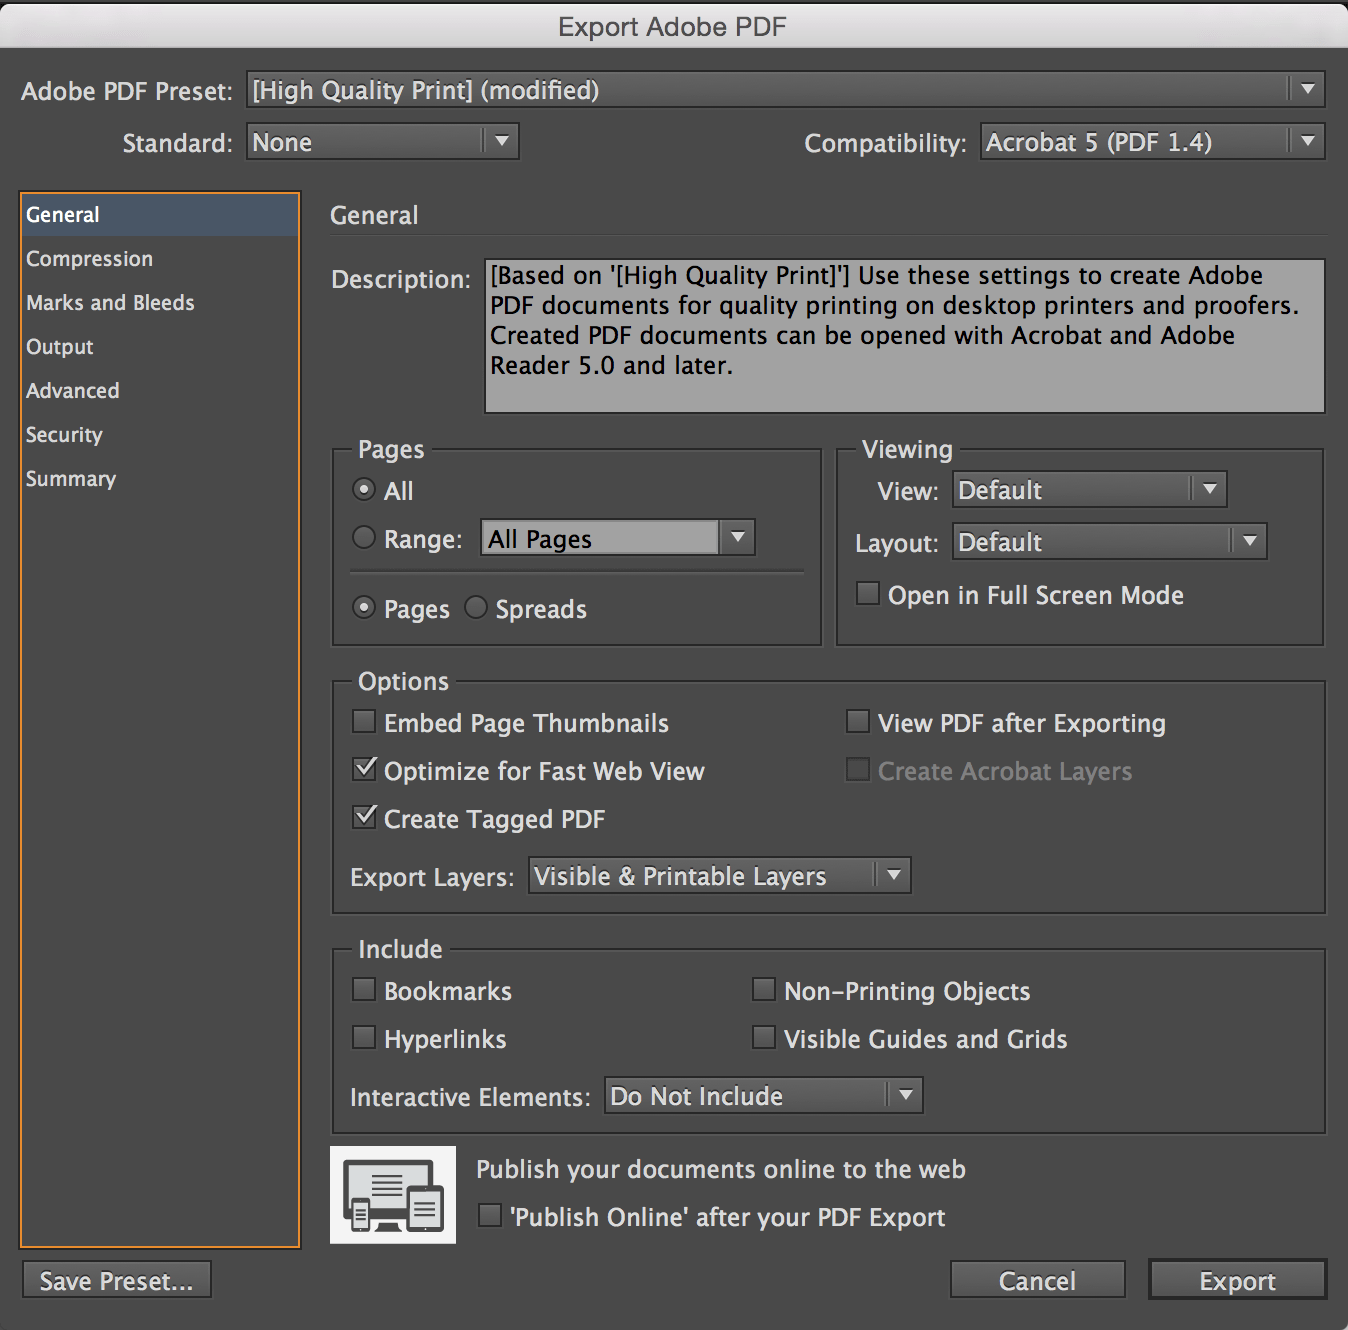
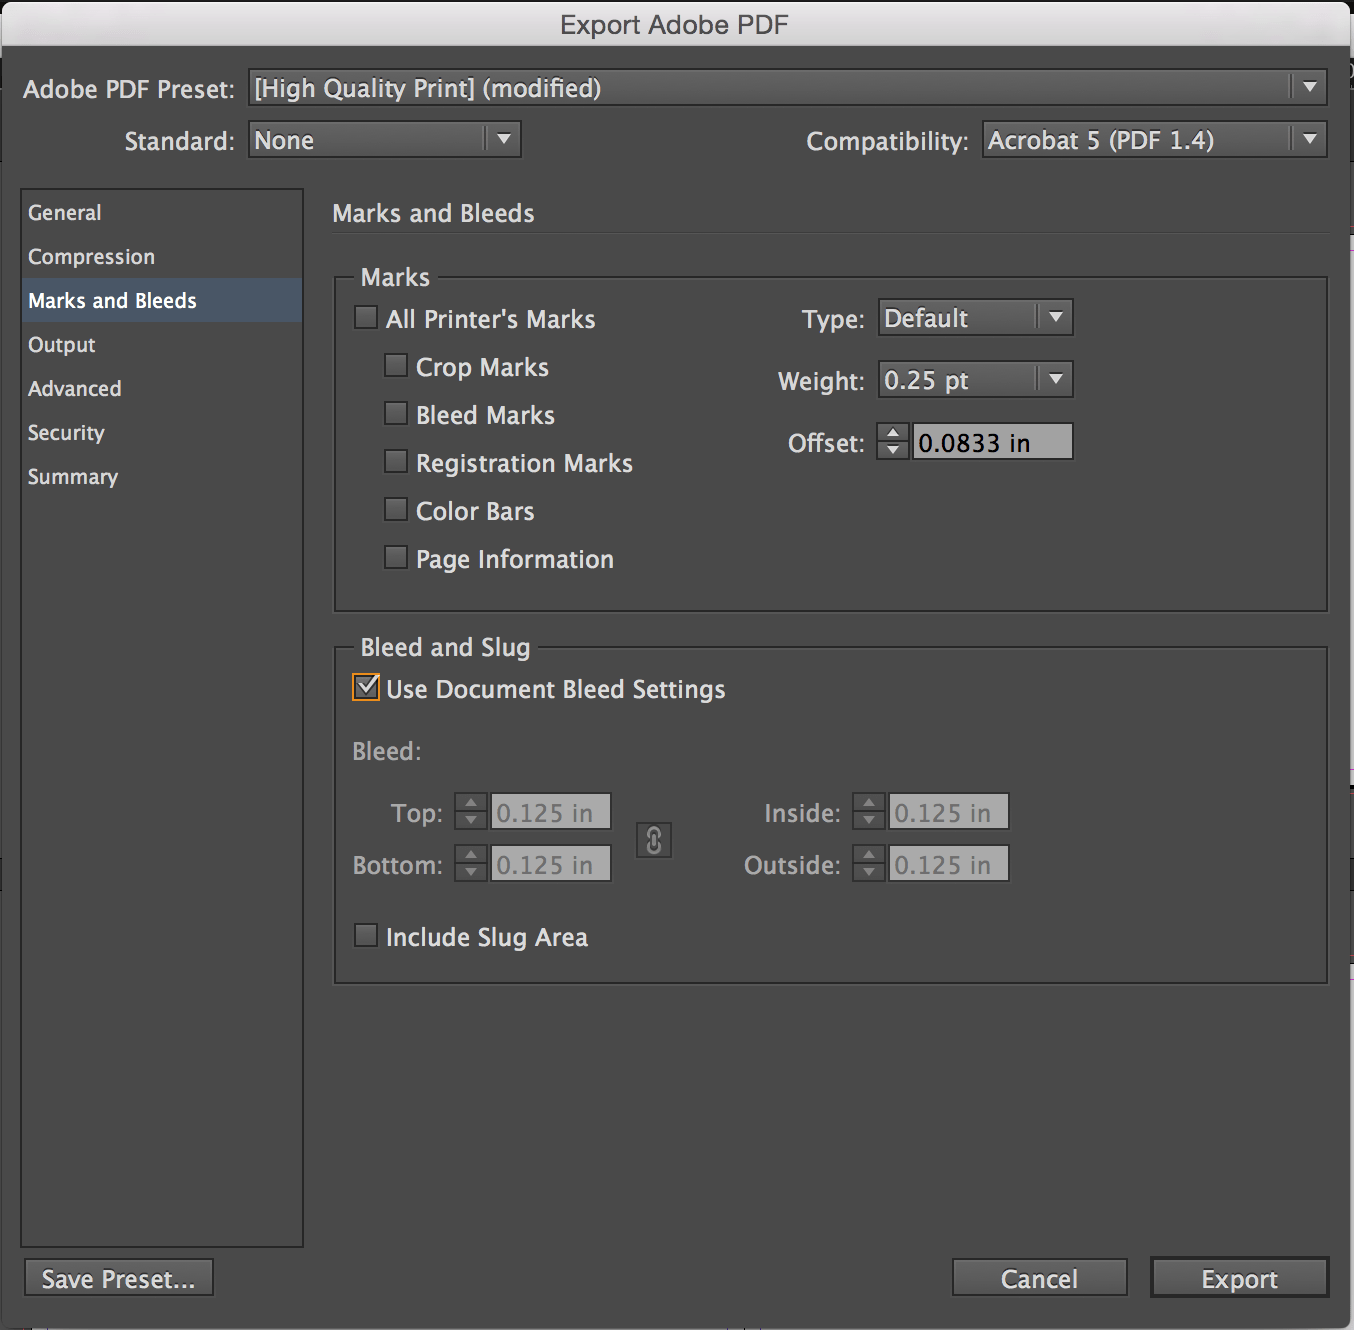
You’re halfway there! Now that you’ve designed your book, it’s time to Export and Upload to our site. The steps below will ensure your file Exports properly for the best printing outcome.
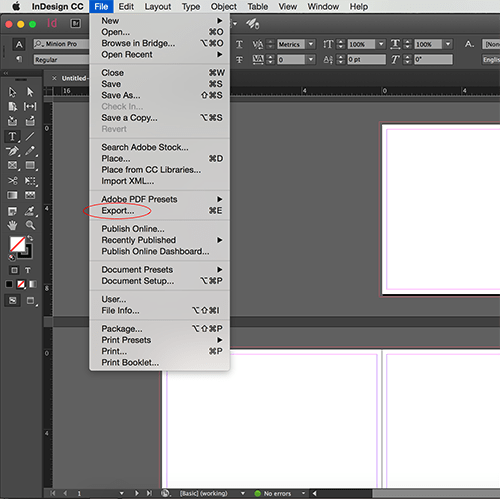
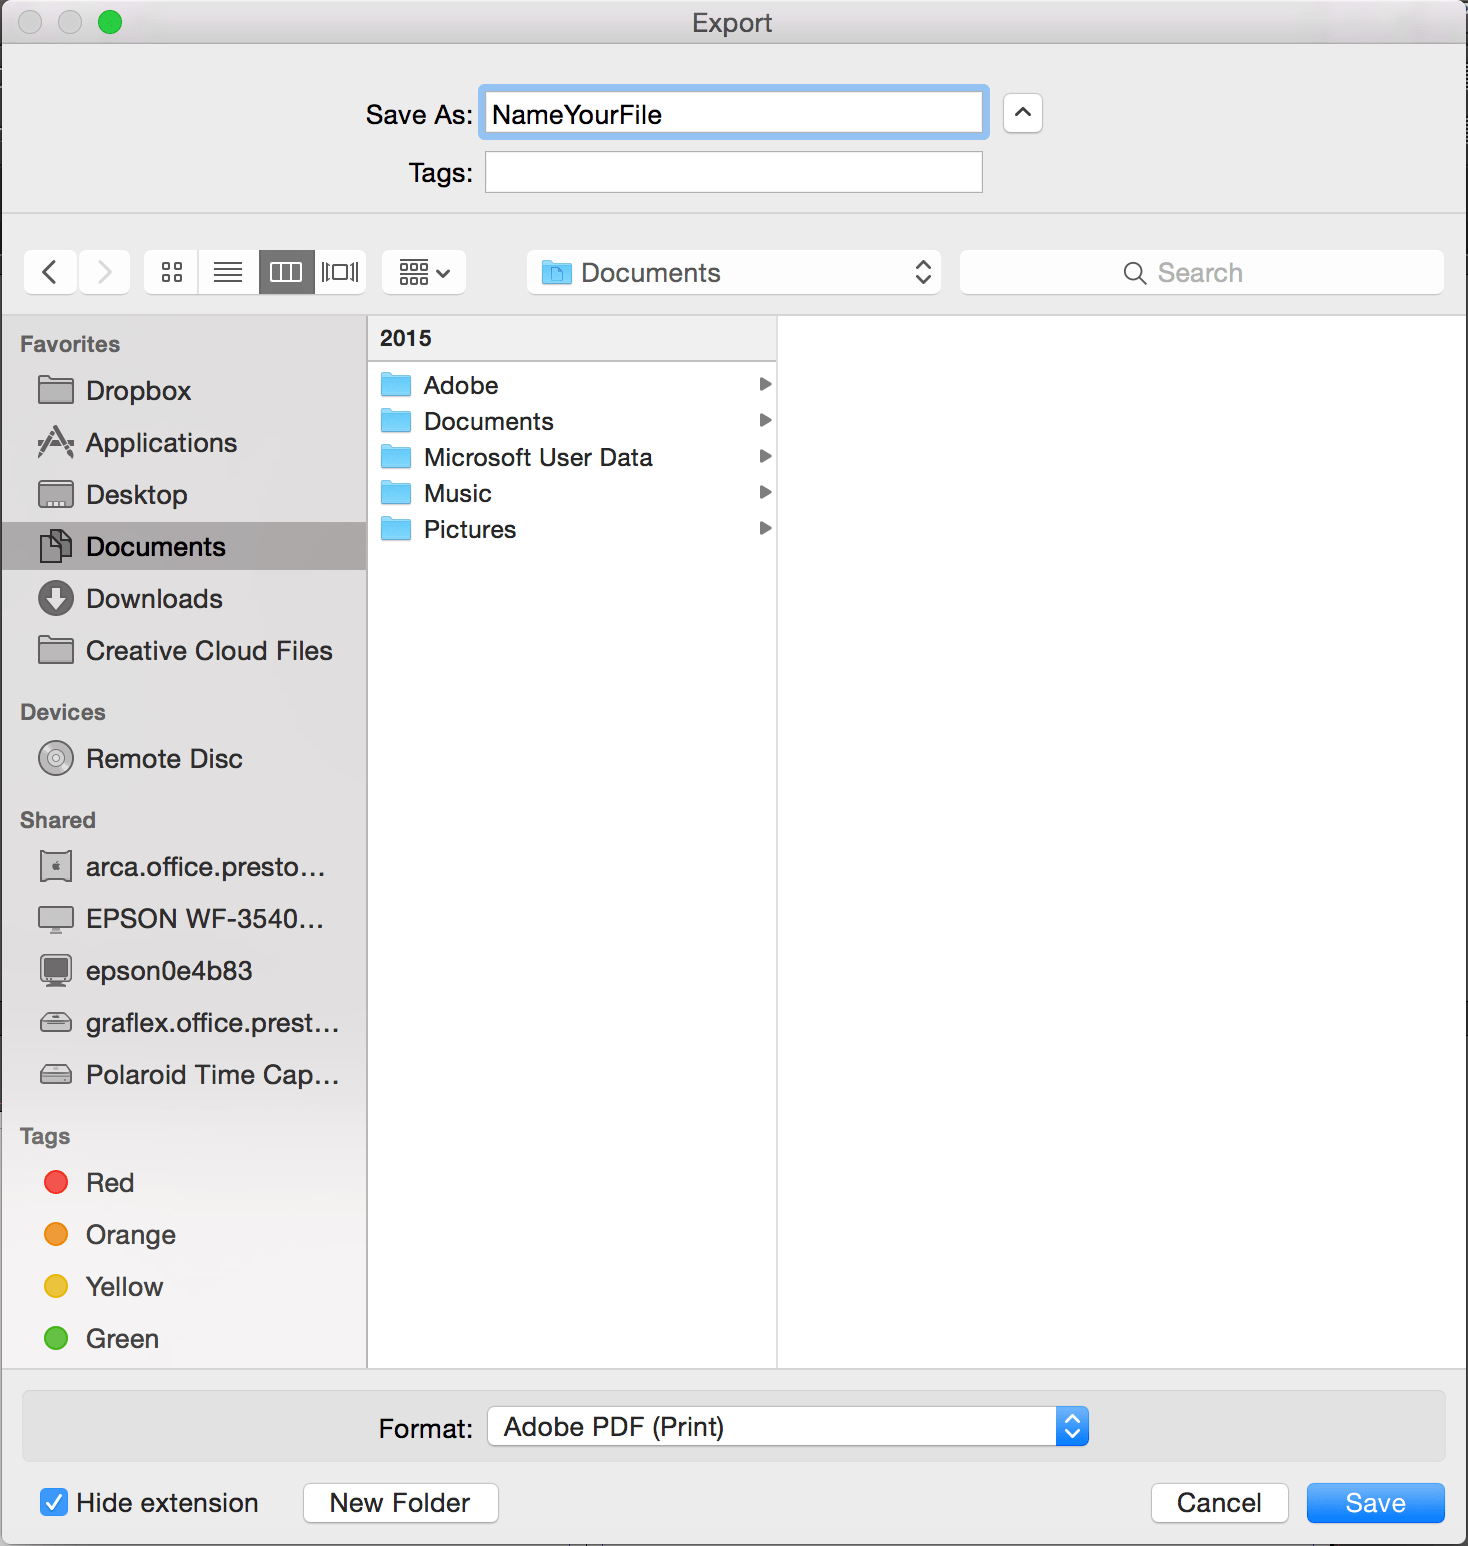
A new “Export” window will pop up, ensure the following items are selected:
InDesign’s default measurement unit is picked as (sixths of an inch). In order to change that setting to inches you will need to, first, make sure no document is open. If a document is open the changes will only occur in that document.
On a Mac Go to the InDesign menu and under “Preferences” choose “Units & Increments” look for the “Points/ Inch:” box, scroll down and select “PostScript (72 pts/inch) to change your measurement to inches.
On a PC Click the “Preference” which is located under the “Edit Menu”, go to the “Units” tab on the right and select Inches.
Don’t worry! The most common reason our site states that there are no products available is due to your file being uploaded in a size that we don’t offer. With books created in InDesign, this typically means that you saved out your file with the “Spreads” button selected during Export, instead of the “Pages” button.
All you’ll need to do is go back into InDesign, Export that file following the directions above and re-upload to our site!
This is called a Transposed Bleed. InDesign automatically formats your document with Transposed Bleeds to ensure your book has that nice “finished” look to it.
If you find that the PDF resulted with transposed bleeds in the gutter of your book and you wish to correct this then you can click here.